Castella Sponge Cake Recipe: Simple and Delicious
Discover our simple castella sponge cake recipe, perfect for any occasion. Moist, fluffy, and deliciously easy to make at home today
20 min read
There are few kitchen moments as quietly joyful as slicing into a loaf that smells like warm honey and history. This recipe guides you to a bakery-quality loaf that honors 16th-century Nagasaki roots while staying practical for an American home oven.
Using basic ingredients—eggs, sugar, bread flour, and honey—you’ll learn why each one shapes the fine, moist texture and delicate flavor of japanese castella. The method skips chemical leaveners and relies on technique: whip to a ribbon, fold gently, and bake low and even in a lined loaf pan.
Plan for room temperature eggs and an overnight rest; that extra time transforms structure and makes slicing clean and effortless. Follow this recipe for clear steps, a friendly oven update for U.S. ranges, and a few small tricks—like a sparkling sugar base—that yield a smooth, golden-topped loaf ready to pair with tea or coffee.
Key Takeaways
- This recipe shows how to make a bakery-style loaf at home with a standard 1 lb pan.
- Bread flour, honey, and precise mixing create the signature texture and flavor.
- Use room temperature eggs and allow an overnight rest for best slices.
- American oven note: 350°F works well; reduce for convection ovens.
- Store wrapped at room temp for a few days or freeze for longer keeping.
What is Japanese Castella and why this sponge cake is special
A fusion of Portuguese origin and Japanese precision created a loaf famed for its glossy top and tender crumb.
Introduced as pão de Castela in 16th-century Nagasaki, this treat was refined by local bakers. They leaned on eggs, sugar, and honey rather than chemical leaveners. The result is a uniquely Japanese version of a European loaf.
From Nagasaki to home ovens: a brief origin story
Portuguese traders and missionaries brought the recipe. Japanese bakers adapted ingredients and technique. Today it’s sold in department stores, kissaten, and convenience stores across Japan.
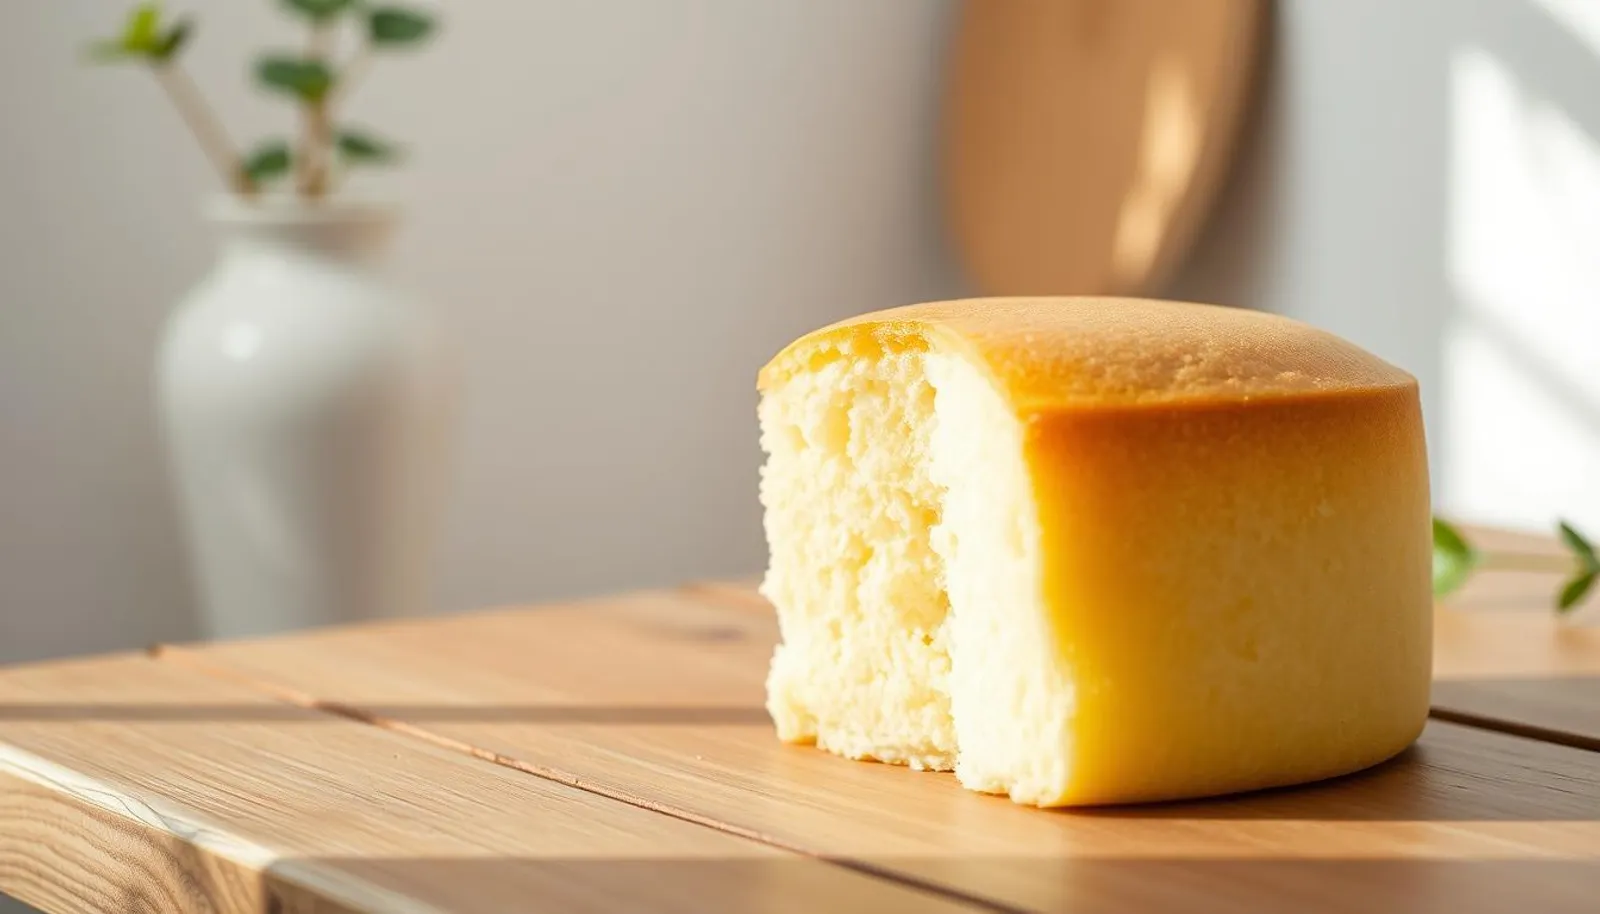
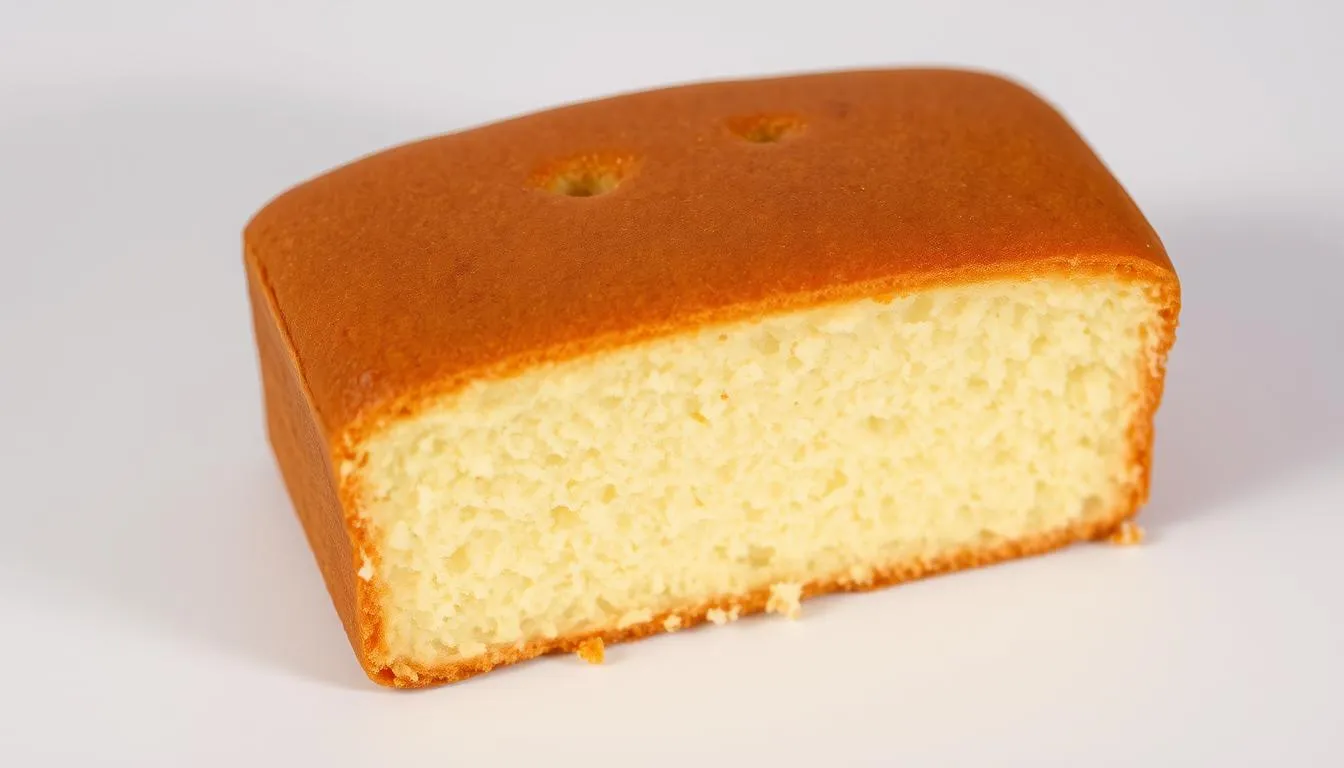
Signature texture, honey aroma, and that golden top
Defining traits include a smooth, golden top and straight sides from a lined loaf pan. Whipped egg foam provides lift; bread flour gives a subtle chew. Honey adds aroma and color while sugar balances sweetness.
| Trait | Why it matters | Home oven tip |
|---|---|---|
| Golden top | Visual sheen, gentle caramel notes | Low, even heat for steady browning |
| Fine crumb | Moist, light mouthfeel | Whip eggs to ribbon stage |
| Bouncy chew | Subtle structure from bread flour | Sift flour and fold gently |
castella sponge cake
Start with a clear plan: use a light-colored 1 lb. loaf pan lined with parchment and clipped so the batter stays put during gentle in-oven mixing.
 Mixing core: whip eggs and sugar for 3–5 minutes until a thick ribbon forms, then add honey gradually. If using mizuame, fold it in with the honey.
Fold sifted flour in just to combine. Keep motions slow to protect the air you built. The batter should pour in one spot so the top bakes smooth and even.
- Preheat American ovens to 350°F (180°C).
- Pour batter into the prepared pan and place in oven.
- After a few minutes, perform a brief awakiri: open and mix gently to even heat and reduce top cracks.
- Finish baking until the surface feels springy and bounces back to the touch.
Invert, cool, wrap tightly, and chill overnight. This resting step concentrates flavor and makes clean slices the next day.
| Step | Why it matters | Timing or cue |
|---|---|---|
| Pan & lining | Even heat and easy release | Use light 1 lb. pan, secure parchment |
| Whip eggs to ribbon | Builds lift without leaveners | 3–5 minutes until thick ribbon |
| Awakiri (in-oven mix) | Prevents cracks, evens batter | Briefly after initial minutes in oven |
| Rest overnight | Better moisture and clean slices | Invert, wrap, chill before slicing |
Ingredients you’ll need and why they matter
Pick the right pantry items and each ingredient will pull its weight in texture, color, and aroma. Below are the core ingredients and quick notes on how they change the final loaf.
Bread flour vs. cake flour vs. all-purpose
Bread flour gives the classic elastic, bouncy crumb that defines this loaf. Use it when you want that subtle chew and structure.
Cake flour makes a lighter, less chewy crumb — softer but lacking spring. All-purpose falls between them, but it cannot fully replicate the bread-flour bounce.
Honey, sugar, and the zarame crunch
Honey adds moisture, warm color, and aroma that carries through the bake. Sugar supports structure and tenderness; weighing it avoids oversweetening.
For the signature bottom crunch use Japanese zarame or sparkling sugar. Turbinado or demerara work well in U.S. kitchens as substitutes.
Egg yolks and egg whites at room temperature
Warm eggs whip more reliably. If needed, place shell-on eggs in very warm tap water for about 10 minutes to bring them to room temperature.
Separate into clean bowls: any grease will ruin the whites and the final mixture. Weigh eggs when precision matters.
Optional mizuame and simple swaps
Mizuame (thick jarred starch syrup) boosts moisture and sheen. Only use the thick jar type; skip thin pouches to avoid adding water to the batter.
Some bakers add a splash of milk or neutral oil to slightly soften the crumb. These are modern variations—use sparingly so flavor stays balanced.
| Ingredient | Role | Practical tip |
|---|---|---|
| Bread flour | Structure, chew | Prefer for classic texture; weigh for accuracy |
| Honey | Moisture, color, aroma | Use a honey you enjoy; adds depth |
| Zarame / Turbinado | Crunch, bottom crust | Sprinkle in pan for golden crunch |
| Eggs (room temperature) | Lift and stability | Warm in water if cold; separate in clean bowl |
Tools, pan prep, and oven setup for consistent results
A consistent loaf begins with the right pan, stable paper lining, and a few simple tools.
Choose a light-colored 1 lb. loaf pan (about 8½ x 4½ x 2¾ inch). Dark pans run hotter and overbrown the sides and bottom.
Line the pan with parchment paper folded to fit. Secure edges with stainless steel clips so paper won’t shift during brief in-oven mixing.

Quick setup and small actions that matter
Scatter sparkling sugar in the lined pan for a delicate bottom crunch. Pour batter into one spot, tap firmly, then drag a skewer in zigzags to coax out hidden bubbles.
Preheat the oven to 350°F (180°C) and verify actual temperature with an oven thermometer. Start the loaf on the middle rack.
“Good equipment and a calm routine beat last-minute fixes every time.”
| Item | Why it matters | Practical tip |
|---|---|---|
| Light-colored pan | Even heat, gentle browning | Use 8½ x 4½ x 2¾ inch size for a 1 lb. loaf |
| Parchment paper & clips | Stable walls, straight sides | Fold paper to fit and clip; remove clips after early mixing |
| Oven thermometer & spray bottle | True temperature and gentle moisture | Verify temp, mist water above batter during early minutes |
Work fast in the first few minutes to keep heat steady. Think of pan, paper, and oven setup as the foundation for a level top and even surface.
Step-by-step: making a smooth, airy cake batter
Good technique turns separate eggs, sugar, and flour into a glossy, airy mixture.
Whipping to ribbon or building a stable meringue
Start with a clean bowl so no fat ruins the foam. Beat eggs and sugar on high for 3–5 minutes until the mixture quadruples and falls in a thick ribbon. On a stand mixer, about 5 minutes at high works well.
If you use the meringue method, whip egg whites to stiff peaks on medium while adding sugar gradually. Then fold in yolks one at a time to keep the foam stable.
Folding flour without deflating and managing air bubbles
Sift bread flour over the bowl and fold gently with a spatula. Use slow, sweeping turns to protect trapped air. Stop as soon as streaks disappear; overmixing knocks out the lift.
Pouring, tapping, and skewer zigzags
Pour the batter into the pan in one spot so the mixture spreads evenly. Tap the pan to level, then run a skewer in zigzags to coax out large air bubbles before the oven sets the top.
- Keep speed low once flour is added; protect the air.
- Work efficiently—finish folding within a few minutes so the batter keeps its lift.
- Aim for thick, glossy batter that flows slowly into the pan.
“Small choices in speed and folding decide the texture you slice tomorrow.”
Baking guide: temperature, timing, and the awakiri technique
Set your oven confidently and plan brief early checks to protect the top and encourage an even rise.
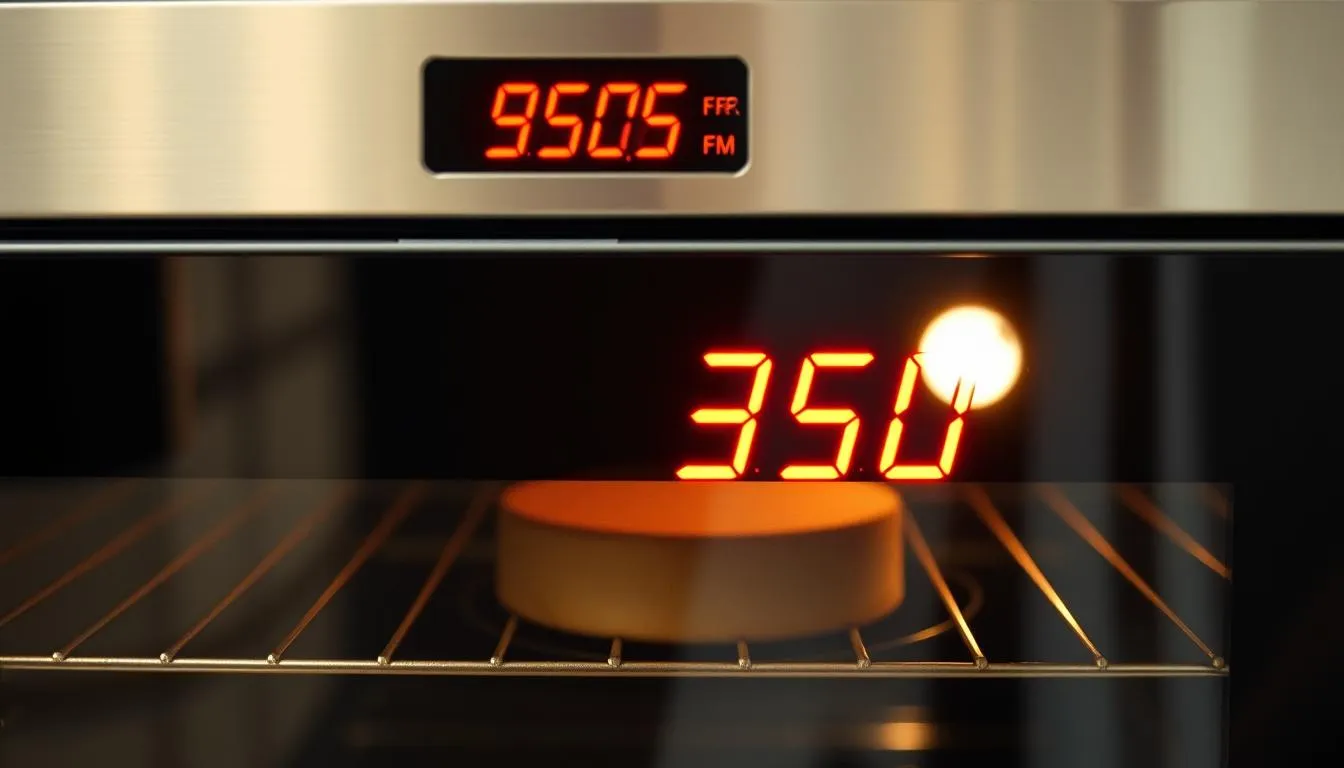 Preheat to 350°F (180°C) for large American ovens. For convection, drop to 325°F (165°C). Smaller, efficient ovens can use 340°F (170°C).
American oven adjustments and best practices
Verify your oven temperature with a thermometer before baking. Expect a drop during early in-oven mixing, so start slightly higher to offset heat loss.
Use brief awakiri cycles: open the door quickly, mist water lightly above the pan, then make quick, gentle mixing passes with an offset spatula from each side. Repeat twice if needed.
When to mix during baking and how to prevent cracks
Keep each intervention short—just enough to even the batter temperature and coax out large air bubbles. Short, consistent actions protect cake rise and crumb.
- After inserting the pan, wait a few minutes, then perform a quick awakiri and misting pass.
- Remove clips on the final pass, smooth with a skewer, then close the door to finish baking.
- Finish for 28–40 more minutes until the top springs back when touched.
“Brief, purposeful early checks beat long interruptions that kill lift.”
When the bake is done, drop the pan on the counter to release steam and reduce shrinkage. Plan total baking minutes so the interior sets without drying—your recipe will thank you.
Cooling, wrapping, and the essential overnight rest
The moments after baking matter: a deliberate cool-and-rest routine preserves moisture and shape.
As soon as the loaf is done, de-steam by dropping the pan twice. Do this to release built-up steam and reduce collapse risk. Then invert the loaf onto a nonstick silicone mat with the parchment still in place.
Let it cool on the counter to room temperature for about 45–60 minutes. This roughly one-hour pause keeps trapped steam from making condensation inside the wrap.
- Drop the pan twice to de-steam immediately after baking.
- Invert onto a nonstick surface and leave the paper on during cooling.
- Wrap tightly in plastic with the paper in place, then chill for 8–12 hours or longer.
Why overnight matters: chilling transforms texture. The rest yields a moist, fine crumb and cleaner slices the next day. Keep the loaf flat and undisturbed in the fridge so the pan shape holds.
“If the top sticks to silicone, it likely needed a few more minutes in the oven—confirm your actual oven temperature with a thermometer and add a little bake time next run.”
| Action | Purpose | Timing |
|---|---|---|
| Drop pan twice | Release steam, prevent collapse | Immediately after baking |
| Cool with paper on | Protect surface, avoid condensation | 45–60 minutes at room |
| Wrap and chill | Lock in moisture, refine crumb | 8–12 hours or overnight |
Plan your timing—finish in the evening and slice the following day. For more tips on this recipe and trimming, see the castella cake guide.
Trim, slice, and serve like a pro
Begin by unwrapping the chilled loaf so the glossy top stays pristine for presentation. Work on a steady cutting board and keep a dry towel nearby to catch crumbs.
Serrated knife tips and portioning for clean slices
Use a sharp, fine-toothed serrated bread knife (for example, Suncraft) and wipe the blade between cuts. This preserves clean faces and reduces smearing on the surface.
Trim the long sides first, then the short sides. Leave the golden top and the crunchy bottom intact so the final slice shows that glossy top and zarame crunch.
- Slice about ¾ inch (2 cm) thick for balanced portions.
- Cut decisively—avoid long sawing motions to keep crumbs minimal.
- Arrange slices slightly overlapped to highlight the uniform crumb.
Serving ideas: green tea, coffee, whipped cream, berries
Serve plain with a cup of green tea or coffee, or add a dollop of lightly sweetened whipped cream and fresh berries for contrast.
- Wrap individual slices for gifting to retain moisture and presentation.
- Save trimmings as a baker’s treat or crumble over yogurt or ice cream.
- Present on a neutral platter so the warm color of the loaf stands out.
“A steady hand and a clean knife turn a good loaf into a memorable serving.”
Flavor variations and creative twists
Small swaps—like a spoon of maple for some honey—open fresh flavor paths without rewriting the method. These ideas keep the loaf’s signature texture while introducing new aroma and color.
Matcha, cocoa, maple, and citrus zest
Matcha adds a toasty, vegetal note that pairs well with honey and green tea. Use 1–2 teaspoons of quality powder and sift it with the flour.
Cocoa brings depth. Replace 10–15% of the flour with unsweetened cocoa and sift well to avoid lumps. Taste and slightly reduce sugar if the profile turns bitter.
Swap part of the honey for maple syrup to get a warm, aromatic variation. Brighten slices with a fine grating of lemon or orange zest for fresh contrast.
Milk-and-oil method and gentle infusions
For a softer bite, whisk warm milk with a neutral oil, temper with a few tablespoons of batter, then fold the mixture back in. This keeps structure while adding tenderness.
Create delicate infusions by warming milk with Earl Grey, vanilla bean, or lavender. Cool, strain, and restore the original weight before folding into the mixture.
- Keep additions light so sweetness and moisture stay balanced.
- Use cake flour selectively if you want a less chewy crumb.
- Fold gently after any change to preserve lift and air in the batter.
Troubleshooting common issues
Most texture problems trace back to three things: whites handling, flour weight, and oven temperature.
Dense or flat: meringue, mixing, and flour accuracy
Under- or over-whipped meringue kills lift. Aim for fine, stable peaks that hold shape without collapsing.
Fold gently after adding flour. Aggressive mixing deflates the foam and buries the air you built in the bowl.
Weigh flour to avoid scooping excess. Even a few grams can mute cake rise and make the crumb heavy.
Dry or cracked top: oven temperature and pan size
Too-hot ovens set the top too fast and cause cracks. Verify actual temperature with a reliable thermometer.
If the pan is too small the batter will dome and split. Use the recommended pan size so the loaf can expand evenly.
Sticky top or shrinkage: bake time and real temperature
A sticky top often means underbaking or a cooler-than-displayed oven. Add a few minutes until the top is slightly darker and springs back.
Keep tools and the bowl spotless so grease doesn’t compromise the egg whites. If you see large bubbles tunneling the crumb, refine folding and run a skewer through the batter before baking.
“Small, calm corrections—accurate weighing, steady folding, and a true oven temp—fix most problems.”
- Recheck meringue and folding if the loaf is heavy.
- Confirm oven temperature and pan size for cracks.
- Extend baking time in short increments for sticky tops.
Storage, freezing, and make-ahead timing
A short resting plan and careful wrapping let the loaf reach its best flavor. Plan to bake one day and serve the next; that extra hour or two of chill helps texture and sliceability.
Room, fridge, and freezer timelines
Room: Keep wrapped slices at room for 3-4 days in a cool spot. In warm weather, move them to the fridge to avoid spoilage.
Fridge: Wrapped tightly, slices last about 5-7 days. Remove strong odors by using an airtight container and keep temperature steady.
Freezer: Freeze individual portions for roughly 1 month (some guides allow up to 2 months). High sugar content means frozen slices thaw fast and can be enjoyed semi-frozen.
Wrapping methods to lock in moisture
Keep the parchment paper on the loaf when chilling, then wrap tightly in plastic to lock moisture. Label portions with date so you track days left.
- Slice only what you need; keep the rest sealed.
- If refrigerated or frozen, let slices warm briefly at room before serving for best flavor.
- Avoid storing unwrapped in the fridge; dry air steals moisture.
| Storage | Best method | Typical shelf life |
|---|---|---|
| Room | Wrap slices in plastic, cool spot | 3–4 days |
| Fridge | Airtight container or wrapped with paper+plastic | 5–7 days |
| Freezer | Double-wrap portions, label date | ~1 month (up to 2 months) |
“Make-ahead is easy: bake one day, rest overnight, and serve the next—texture improves with time.”
Conclusion
This final note ties technique, timing, and patience into a clear path for repeatable success. Follow this recipe to make a Japanese castella and present a glossy, fine-crumb loaf that tastes of honey and care.
Key pillars: weigh flour and sugar, whip eggs to ribbon or peaks, and fold minimally so the batter keeps its air. Trust oven prep and brief awakiri cycles to protect the top and encourage even rise.
Keep eggs at room temperature, cool and wrap the loaf, and rest overnight for cleaner slices. Trim and serve simply with tea or coffee. With steady steps and a little time, each bake will look and taste closer to shop quality—enjoy sharing it.
FAQ
What makes Japanese Castella special compared to other sponge recipes?
This Nagasaki-born loaf stands out for its fine, moist crumb, honey-kissed aroma, and a smooth, glossy top. The batter relies on a stable meringue, gentle folding, and a precise balance of yolks and whites to create that signature texture without heavy leaveners.
Do egg whites and yolks need to be at room temperature?
Yes. Room-temperature eggs whip more easily and form larger, more stable air bubbles in the meringue. Let the eggs sit on the counter for about 30 minutes before separating and whipping.
Can I use cake flour, all-purpose, or bread flour?
Cake flour is preferred for a tender crumb; all-purpose works if you sift it well and use slightly less. Bread flour is too strong and gives a chewier texture. If needed, substitute cake flour by removing 2 tablespoons per cup of all-purpose flour and replacing with cornstarch.
What does the honey do, and can I substitute it?
Honey adds flavor, moisture, and a glossy sheen to the top. You can swap with light corn syrup or mizuame for similar texture, but the floral notes will differ. For a neutral sweetener, use a mild syrup and adjust quantity to taste.
How do I build a stable meringue without overbeating?
Whip egg whites with clean, dry tools and add sugar gradually at medium speed. Stop when stiff, glossy peaks form and the meringue holds shape but still looks elastic. Overbeating dries it out; underbeating won’t trap enough air.
What’s the best way to fold flour in without deflating the batter?
Use a spatula to fold in three additions, cutting through the center and sweeping along the bowl’s side. Rotate the bowl as you fold and avoid long, aggressive strokes. Small, gentle turns preserve the trapped air bubbles that help the rise.
Why do recipes instruct pouring batter in one spot and tapping the pan?
Pouring in one place helps the batter settle evenly. A few light taps release large pockets of air and level the surface. If big bubbles remain, glide a skewer in a zigzag pattern to pop them gently.
How should I adjust baking times for an American oven?
Use an oven thermometer and lower the temperature by 10–20°F if your oven runs hot. Bake in the middle rack and consider a light foil tent if the top browns too quickly. Water in a shallow tray can add humidity for a soft crumb.
What is the awakiri technique and when should I use it?
Awakiri involves briefly lowering heat mid-bake to prevent surface cracking and encourage a uniform rise. Use it if the top begins to dome too fast; reduce temperature for 5–10 minutes then return to the original setting.
How do I tell when the loaf is done without overbaking?
The center should spring back lightly and a skewer inserted near the middle comes out with a few moist crumbs, not wet batter. The top should be golden but not hard. Err on the side of slightly underbaked—carryover heat finishes the set.
What’s the correct cooling and resting method for best texture?
Invert the pan onto a rack immediately to cool and prevent steam buildup. Once slightly cooled, remove the loaf and wrap it in parchment or plastic wrap. Let it rest overnight; this improves moisture distribution and yields a finer crumb.
How should I slice and serve for clean pieces?
Use a long serrated knife and a gentle sawing motion. Chill the loaf slightly for cleaner cuts, and wipe the blade between slices. Serve with green tea, brewed coffee, or lightly whipped cream and fresh berries for balance.
What causes a dense or flat result and how can I fix it?
Common causes are underwhipped meringue, overmixing during folding, or inaccurate flour measurement. Ensure accurate weighing, whip whites to stable peaks, and fold gently. Room temperature eggs and correct pan size also matter.
Why might the top be dry, cracked, or sticky after baking?
Dry or cracked tops often indicate oven temperature too high or the pan is overcrowded. Sticky or shrunken tops mean underbaking or too much moisture left in the loaf. Use an oven thermometer and adjust bake time and pan size as needed.
Can I flavor or vary the basic recipe—matcha, cocoa, or citrus?
Yes. Fold sifted matcha, cocoa, or citrus zest into part of the flour or the yolk mixture for gentle infusion. Reduce any added liquid slightly and use gentle mixing to keep the structure intact. Small amounts preserve the classic texture.
How long can I store the loaf at room temperature, in the fridge, or freezer?
Wrapped well, the loaf keeps 2–3 days at room temperature, up to a week refrigerated, and 1–2 months frozen. Thaw overnight in the fridge, then bring to room temperature before unwrapping to retain moisture.
What wrapping methods best lock in moisture for make-ahead baking?
Once fully cooled, wrap the loaf tightly in parchment and then in plastic wrap or place it in an airtight container. For freezing, double-wrap with plastic and foil to prevent freezer burn and preserve texture.