Crunchy Rice Snacks: Tasty Treats for Kids and Adults
Get the ultimate crunchy rice snacks recipe. Make delicious and healthy snacks for the whole family with our simple and tasty cooking ideas.
16 min read
I still remember the first time I handed a warm, golden bite to my daughter and watched her eyes light up. That tiny moment made me fall for this simple comfort food. It feels like a small celebration at home.
These crunchy rice snacks deliver a shatteringly crisp exterior and a tender, tangy center. The method is straightforward: cook sushi rice, dress it with a touch of vinegar and sugar, press it in parchment paper in an 8-inch pan, chill, cut, then pan-fry in a thin layer of oil until each side turns golden.
The recipe uses pantry staples and little hands-on time. Most of the work is waiting for the slab to chill so you get neat rice cakes. Serve them plain with salt or top with Nobu-style spicy tuna, avocado, or other savory mixes for party food or lunchboxes.
Key Takeaways
- Quick, kid-friendly bites with a crispy rice finish and tender center.
- Simple ingredients: sushi rice, vinegar, sugar, oil—and parchment paper for pressing.
- Hands-on time is short; chill time yields clean cuts and better texture.
- Versatile: enjoy plain or topped with tuna, avocado, or savory spreads.
- Step-by-step tips cover pan choice, oil amount, and heat control to avoid soggy centers.
What Are Crunchy Rice Snacks and Why You’ll Love Them
Pressed, chilled, and pan-fried, these bites transform cooked grain into a handheld treat. Compact pieces of crispy rice form a caramelized crust with a soft interior that holds toppings without falling apart.
This is not fried rice. Instead of loose, stir-fried grains, you press cooked sushi rice with a touch of rice vinegar and sugar into a slab, chill, cut, and then sear each piece until golden.
The neutral-savory flavor and gentle tang from vinegar make these rice cakes a perfect base for spicy tuna crispy bites, salmon, avocado, or simple pantry toppings. They are naturally gluten-free and easy to portion for kids or party platters.
- Firm, handled pieces ideal for canapés.
- Make ahead: cook and press, then fry just before serving for peak texture.
- No special tools—just a pan, parchment, and a sharp knife.
| Feature | Pressed Crispy Rice | Fried Rice |
|---|---|---|
| Form | Compact slabs or cakes | Loose, separated grains |
| Texture | Crisp exterior, soft center | Uniformly tender |
| Best for | Toppings like tuna, salmon, avocado | Main course or side dish |
| Seasoning | Sushi-style vinegar and sugar | Soy and aromatics |
Ingredients and Tools for Crispy, Golden Results
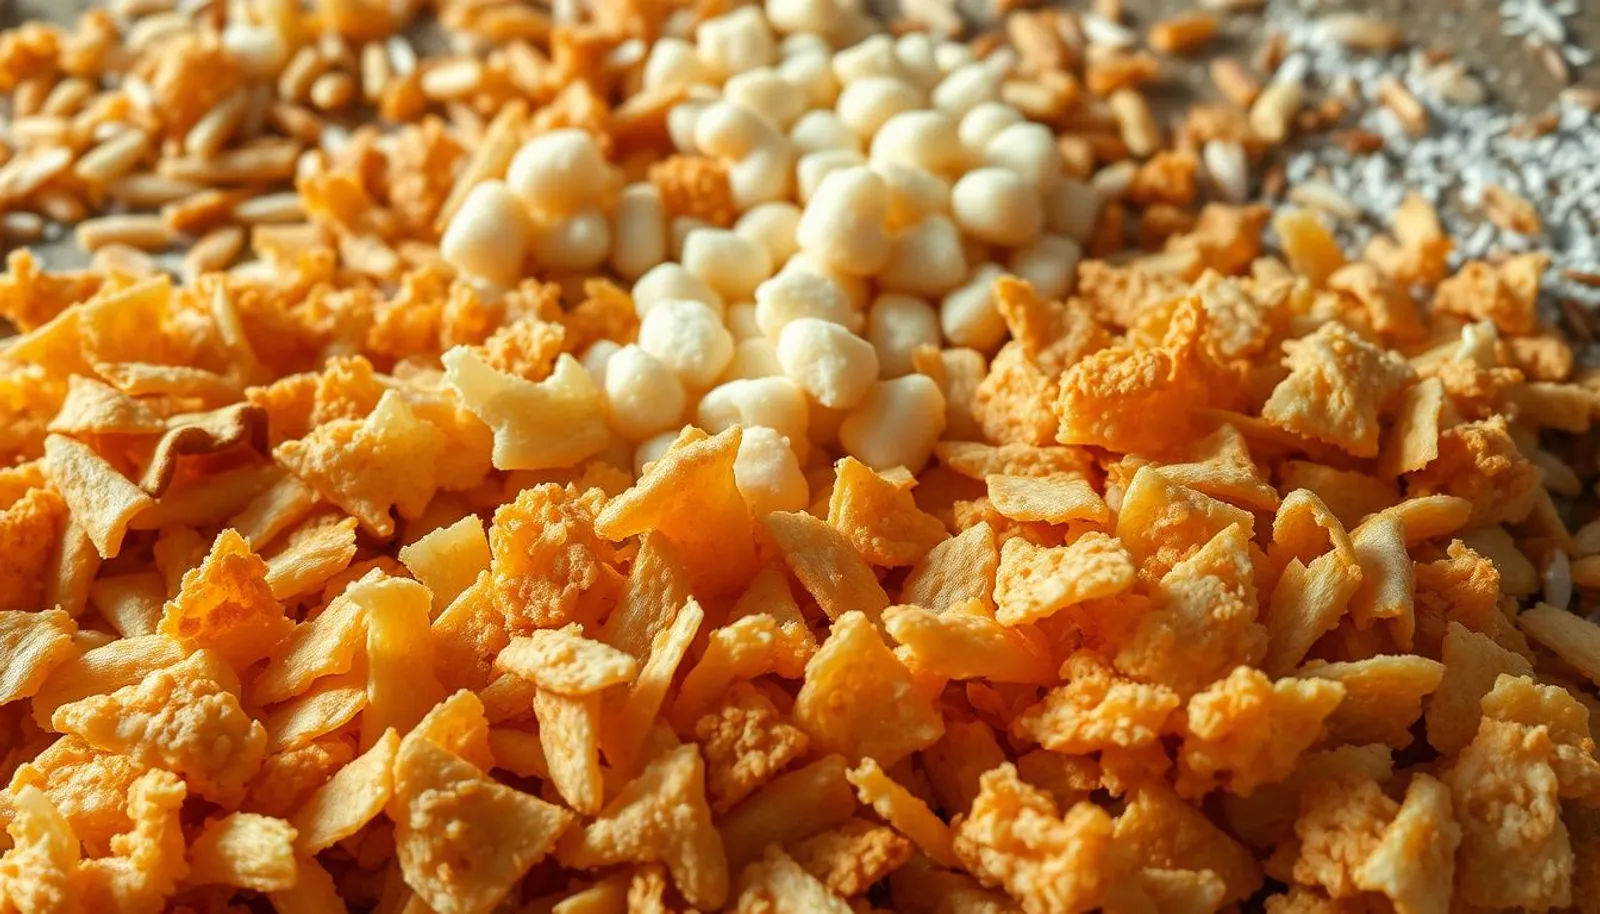
The secret to perfect texture begins with selecting the right grain and a few simple tools you already own. Pick ingredients that help the cakes hold together and brown evenly.
Best rice for texture: sushi rice vs. short- and medium-grain
Use sushi rice when you can. Its short grains are stickier and bind the cakes so they slice cleanly.
Medium-grain can work in a pinch. Avoid long-grain, basmati, brown, or wild varieties; they won’t cling and the pieces fall apart.
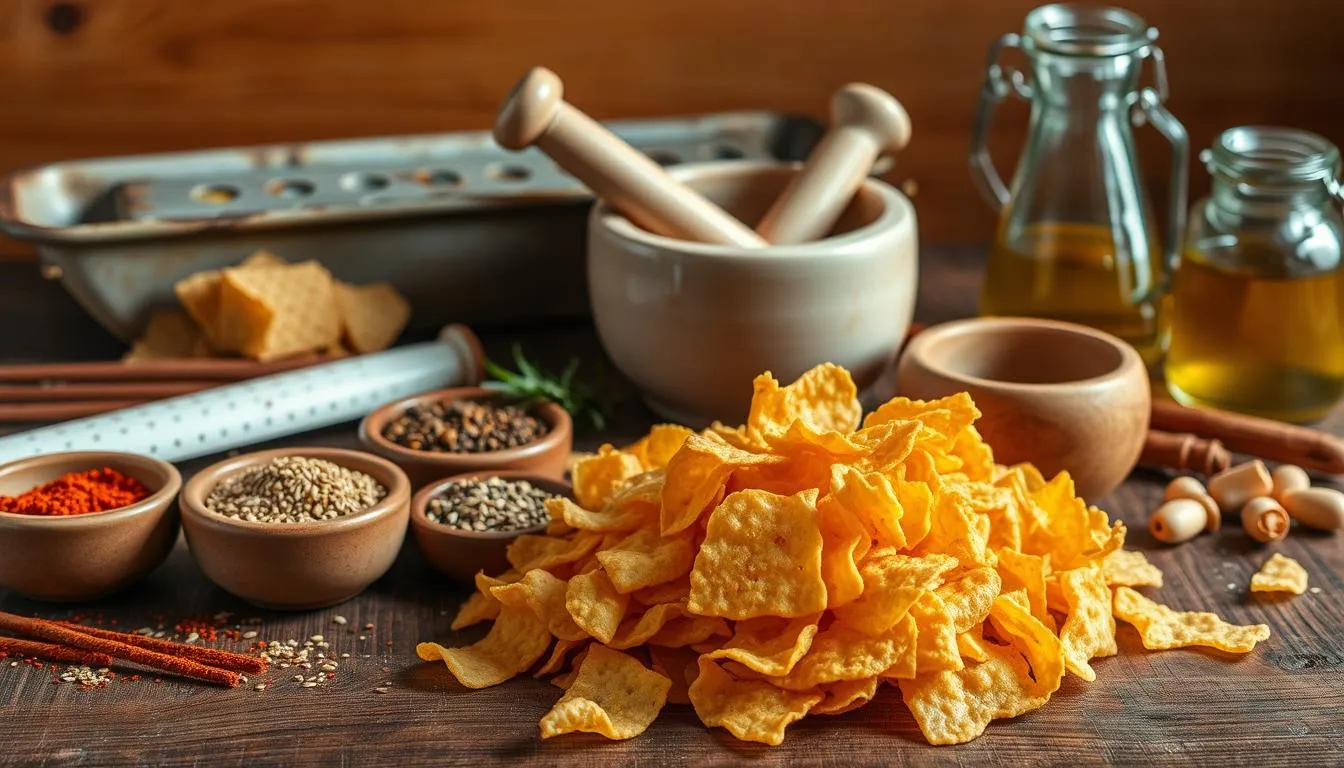
Seasonings that make a difference: rice vinegar, sugar, and salt
A small bowl of rice vinegar mixed with sugar brightens neutral flavors and keeps toppings balanced. It’s optional but recommended, especially for plain servings.
Keep a pinch of salt nearby to finish the hot cakes—salt sticks to warm surfaces and lifts flavor like a crisp chip.
Oil, pan, and parchment paper: choosing the right setup
Line an 8-inch square pan with parchment paper, press the cooked rice firmly, and weigh it with a flat pan plus a few cans for compact slabs.
Fry in a thin layer of neutral oil in a reliable non-stick skillet over moderate heat. Olive oil works too if you keep the temperature steady.
- Measure liquids with a cup for consistent hydration.
- Use a sharp, wet knife for clean slices and re-wet between cuts.
- Have a rubber spatula or rice paddle to fluff and press the grain before packing.
Crunchy Rice Snacks Recipe: Step-by-Step Guide
Follow a few precise steps and you’ll transform steamed sushi rice into neat, golden crispy rice cakes in under a day. This short guide covers cook times, seasoning, pressing, chilling, frying, and finishing.
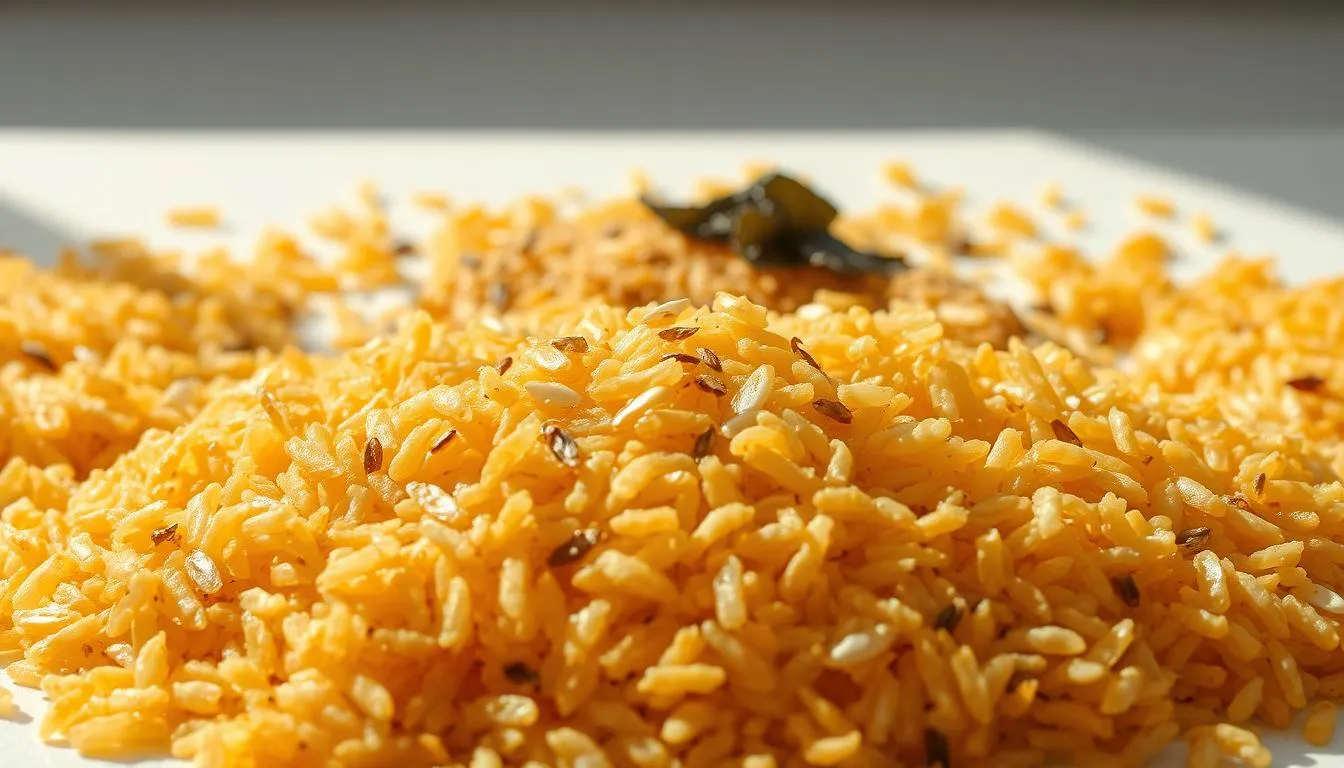
Cook and season
Measure 1 cup sushi rice and 1½ cups water. Bring to a gentle bubble, cover, and cook about 13 minutes until water is absorbed. Rest 10 minutes covered.
Or rinse first and simmer 15–18 minutes until tender, then rest 10 minutes. Stir 1 tbsp rice vinegar with 1 tsp sugar until dissolved and drizzle over the hot cooked rice; gently fluff to make rice even.
Press, chill, and cut
Line an 8×8 pan with parchment and press the rice to a ½-inch layer. Cover with paper and place a flat pan plus 4–5 cans on top for firm slabs.
Chill fully—overnight is best. Quick option: chill 1 hour, partial-freeze 1 hour (don’t freeze solid), then refrigerate 1 hour. Lift with parchment, wet your knife, and cut into 1.5–2-inch pieces.
Pan-fry and finish
Heat a thin layer of oil in a non-stick pan until a small rice bit sizzles. Fry each piece about 3–4 minutes per side until deep golden crispy. If browning too fast, reduce to lower heat.
- Drain on paper towels.
- Sprinkle salt on both sides while hot.
“Timing and pressure are what turn loose grains into sturdy, toastable rice cakes.”
Want a tested variation? Try the linked crispy rice squares recipe for another approach to make crispy rice.
Timing and Heat: High Heat vs. Lower Heat for Perfect Crisp
A short sizzle followed by steady heat makes all the difference when searing pressed cakes. Start with a quick sizzle to set the crust, then steady the burner so the center warms through without burning.
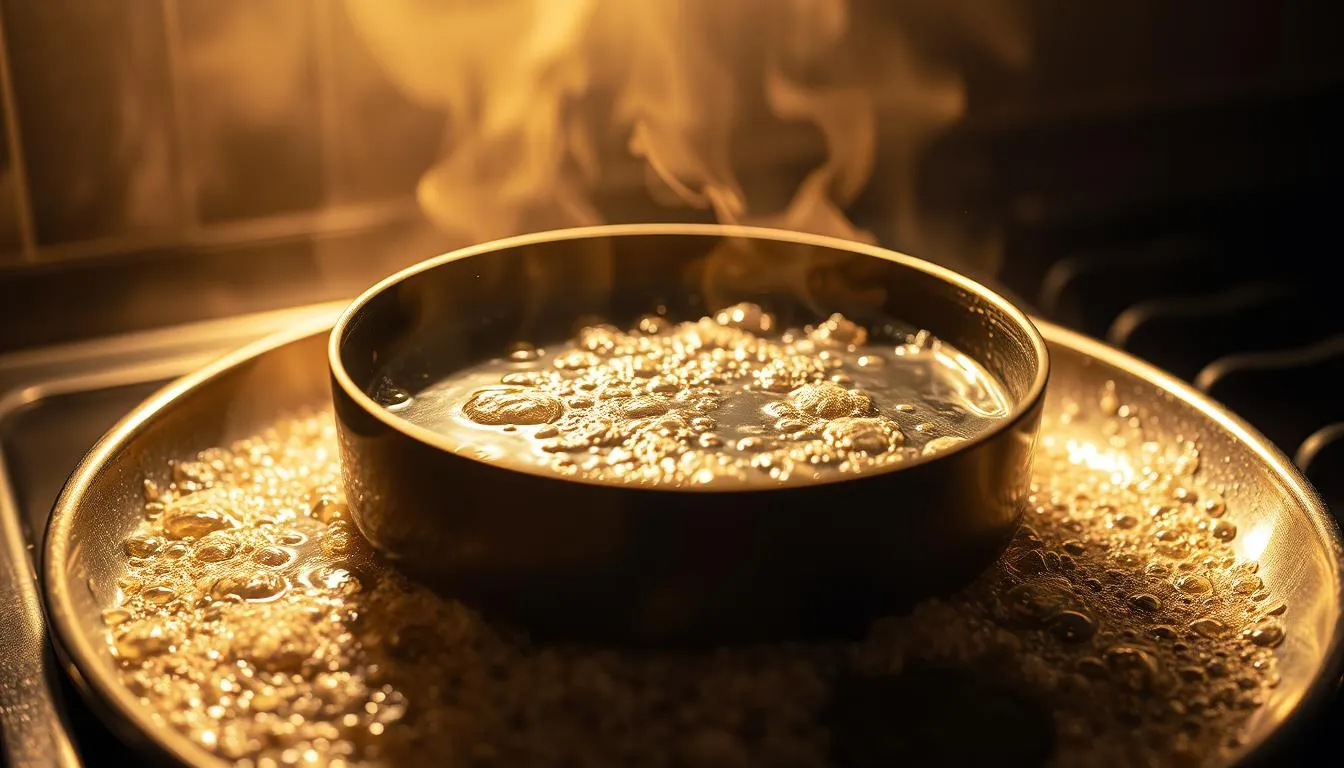 Use high heat cautiously. Do a sizzle test, then drop to medium so the outside browns while the interior finishes. Aim for about 3–4 minutes per side; adjust if the crust darkens too fast.
- If edges brown in the first minutes, switch to lower heat to avoid burnt edges and undercooked centers.
- Don’t overcrowd the pan; steam will keep pieces soft and extend frying time.
- Press slabs firmly so each rice cake makes full contact for even browning.
“Patient, controlled heat is the key to consistent, golden results.”
| Issue | High Heat | Lower Heat |
|---|---|---|
| Speed | Fast crust, risk of burning | Slower, safer browning |
| Center | May stay cold or soggy | Warms through evenly |
| Best practice | Start hot, then steady | Use if early browning occurs |
Use just enough oil and salt while hot so it sticks. Rotate the pan if you see pale spots to make crispy rice and sturdy sushi-style bites every time.
Toppings and Serving Ideas: From Spicy Tuna to Family-Friendly Bites
A well-chosen topping turns a warm, seared cake into a lively party bite. Keep the base lightly salted so the additions shine.
“Make a Nobu-inspired spicy tuna or salmon by mixing sashimi-grade fish or canned tuna with mayo and Sriracha, then spooning onto warm rice cakes.”
Nobu-style spicy tuna or salmon
Finely chop sashimi-grade fish or drain canned fish. Mix with mayo and Sriracha for a quick, silky topping.
Serve a small dollop on a hot piece for a classic spicy tuna crispy bite or a topped spicy tuna canapé.
Fresh and bright options
Try avocado slices or tuna poke dressed in gingery soy for a sushi-adjacent mouthful.
Salmon mousse pipes elegantly for party trays or more refined recipes.
Pantry wins and quick builds
Sprinkle furikake, toasted sesame seeds, or a light soy drizzle to add umami with no fuss.
Chopped egg with a dash of vinegar or soy makes a family-friendly topping kids will accept.
Dips, sides, and serving tips
Offer French onion dip, crunchy slaw, or simple dressed greens as sides to balance richness.
For gatherings, set out small bowls of toppings so guests build their own bowl of favorites.
- Small, even shapes help toppings sit neatly and keep each bite stable.
- For weeknight ease, pan-toast pieces, swipe with mayo, and top with furikake.
“Serving a variety of toppings turns one recipe into many crowd-pleasing options.”
Variations and Cultural Inspirations
Across kitchens worldwide, the same golden bottom layer shows up in many beloved dishes with distinct finishes. Exploring these variations can inspire new textures and flavors for your pressed cakes.
Nurungji-style chips and sweet finishes
Try a nurungji-inspired method: spread cooked short-grain or jasmine grain thin in a non-stick pan with a splash of water, cook 5–10 minutes until it releases, flip, then cool and break into chips.
For a playful sweet twist, shallow-fry the chips 1–2 minutes and dust with cinnamon sugar while hot for a churro-like, golden crispy finish.
Global cousins for texture lovers
Many cuisines prize that browned layer: Persian tahdig, Dominican concon, and Chinese guoba all show how cultures use toasted grain to add crunch and aroma.
“The scorched bottom of grain often becomes the most celebrated bite on the plate.”
Learn more about these regional takes on the scorched bottom of grain in this piece on the scorched bottom of grain.
Baked and air-fried lighter ways
If you want less oil, press squares and finish them in the oven or an air fryer until crisp. This baking approach yields sturdy rice cakes with a lighter texture.
- Choose short-grain or jasmine for best bonding and toasty aroma.
- Keep oil minimal when pan-crisping so pieces stay light and snappy.
- Serve a mixed platter of savory rice cakes and sweet nurungji chips to highlight contrasting textures and flavors.
Nutrition and Dietary Notes
Nutrition is simple: portion control and oil choice change calories more than the rice base does.
Calories vary widely. A single pan-fried piece can range from about 68 to 209 calories depending on size and how much oil it absorbs. Two to three squares often total ~120–209 calories, with ~2–3 g protein, ~5–14 g fat, and ~18–20 g carbs.
Calories, carbs, and fat: how oil choice affects macros
Oil selection and amount drive fat and calories. Neutral oils or olive oil both work well, but heavy frying raises fat quickly.
To reduce fat, use a swipe of oil in a non-stick pan, blot pieces after frying, or finish slabs in an air fryer or oven. These methods cut absorbed oil and drop fat per piece.
Gluten-free by default and lower-fat tweaks
The base is naturally gluten-free since it’s made from rice and sushi rice binds without extra ingredients. Always check toppings and sauces to keep the plate gluten-free.
- Vinegar and a touch of sugar add minimal calories but brighten flavor.
- Weigh portions before frying and blot with paper towels to reduce surface oil.
- For lighter results, bake or air-fry for a crisp finish with less fat.
“Small swaps—less oil or an air fryer—shrink fat and calories while keeping crisp texture.”
For broader context on rice-based snacks and nutrition, see this overview on rice cakes nutrition.
Storage, Reheating, and Make-Ahead
A little planning makes it easy to serve hot, crisp squares right when guests arrive. Store finished pieces in an airtight container in the fridge for up to 2 days. Separate layers with parchment paper so they don’t stick.
Refrigerate and re-crisp: skillet and oven methods
Skillet: warm a non-stick pan with a thin film of oil. Fry each piece a few minutes per side over steady heat until the exterior re-crisps and the interior is hot. If the surface browns too fast, drop to lower heat.
Oven: arrange pieces on a baking sheet and use baking to refresh the crust. This is ideal for batch re-crisping and keeps hands free for toppings.
Why not to freeze and how to prep slabs ahead
Freezing is not recommended; thawed slabs can weep and lose structure, making them hard to make crispy again.
For make-ahead, press rice into a parchment-lined pan, weigh it down, and chill overnight. Cut and fry just before serving for best texture. After reheating, blot on paper towels and finish with a pinch of salt.
“Press ahead, chill overnight, and finish in a hot pan to keep each bite firm and flavorful.”
| Method | Time | Best for |
|---|---|---|
| Skillet | Minutes per side | Single servings, quick re-crisp |
| Oven | 10–15 minutes | Batch reheating, even crust |
| Freezer | Not recommended | Structure weakens after thawing |
crunchy rice snacks
A few reliable steps turn cooked grain into sturdy, toastable squares ready for any topping.
Make rice well: use sushi with the right water ratio and rest time so the slab slices cleanly. Season warm rice with a splash of rice vinegar and a touch of sugar before pressing into an 8-inch parchment-lined pan.
Chill until firm, then cut into even pieces. Heat a thin film of oil in your rice pan and fry each side 3–4 minutes until golden. Avoid high heat that scorches the surface before the interior warms through.
Top ideas: a small spoon of spicy tuna crispy mix (mayo + Sriracha), avocado slices, sesame, or a chopped egg garnish. For lower fat, finish squares in the oven—baking gives crisp texture with less oil.
- One uncooked cup scales well for 8–10 bite-size rice cakes.
- Press firmly, chill fully, and cut with a wet knife for neat edges.
- Sprinkle salt and furikake just before serving to make toppings pop.
“Press, chill, and fry with steady heat—those three steps make reliably crispy rice cakes every time.”
Conclusion
A quick press, a short chill, and a hot pan deliver a reliably golden finish. These rice cakes are easy to prep ahead and fry in minutes, making them ideal for weeknight meals or party food. Season the cooked grain with a touch of sushi-style vinegar and sugar, then finish with a pinch of salt so toppings pop.
Pairings shine: spoon on spicy tuna, a tuna-salmon mix, salmon mousse, avocado, or pantry toppers. These recipes are forgiving; steady heat builds a golden crispy exterior while the center stays tender. Store leftovers in the fridge and re-crisp gently before serving. Avoid freezing to keep structure intact and flavors fresh.
FAQ
What kind of rice makes the best crispy slabs?
Short- or medium-grain sushi rice gives the best stick and chew for forming slabs that crisp well. Its higher starch content helps the grains bind, making it easier to press into firm shapes that hold together during pan-frying.
How do I cook the rice so it won’t fall apart when frying?
Use the correct water-to-rice ratio, cook covered until tender, then let it rest off heat for a few minutes. Slightly under-fluffed rice that’s a bit tacky works best—too wet and it will be mushy; too dry and it won’t bind.
Should I season the rice before pressing? What goes well?
Yes. A light splash of rice vinegar plus a pinch of sugar and salt balances the grain and adds shine. This classic seasoning enhances flavor without making the slabs soggy.
How do I form even slabs that won’t break when I cut them?
Pack the rice tightly into a lined pan and press firmly, using a weight or a flat spatula. Chill in the fridge until firm—this helps the rice set and makes clean cuts with a wet knife easier.
What’s the best frying method to get a golden crust without burning?
Use a nonstick or cast-iron pan with enough neutral oil to coat the bottom. Heat to medium-high, then lower slightly when adding the slabs so the exterior browns slowly and the center crisps without charring. Flip once when the first side is deeply golden.
Can I bake or air-fry the slabs instead of pan-frying?
Yes. For a lighter option, brush both sides with a little oil and bake on parchment at a high temperature or air-fry until golden and crisp, watching closely so they don’t dry out.
How do I prevent a soggy center and burnt edges?
Avoid excessively high heat and too much oil. Press slabs evenly and chill well. Cook at a controlled temperature so the crust forms gradually while the interior loses moisture without burning the outside.
What toppings pair best with crispy slabs for a Nobu-style bite?
Try spicy tuna made with mayo and Sriracha, or a salmon mix with a touch of lemon and soy. Finish with furikake, sesame, and sliced avocado for texture and brightness.
Are there sweet variations I can make?
Yes—pan-crisp slabs and dust lightly with cinnamon sugar or a drizzle of honey for a simple dessert inspired by nurungji-style treats.
How should I store leftovers and re-crisp them later?
Keep cooled slabs in an airtight container for up to two days. Re-crisp on a skillet over medium heat or in a 350°F oven for a few minutes. Avoid freezing, which ruins the texture.
Is this snack suitable for people on gluten-free diets?
Yes. Made from grain and plain seasonings, the slabs are naturally gluten-free—just check that any toppings or sauces you add, like soy sauce, are gluten-free versions.
How does oil choice affect flavor and nutrition?
Neutral oils like canola or grapeseed give a clean fry and higher smoke point. Using olive oil or sesame oil adds flavor but may brown faster. Oil amount and type will change the fat and calorie content, so choose based on taste and dietary needs.
Can I make these ahead for a party?
Yes—press and chill the slabs a day ahead. Pan-fry right before serving to ensure maximum crunch. You can also prep toppings in advance for quick assembly.