Learn Japanese Rice Cooking with Simple Recipes
Master Japanese rice cooking with our simple and easy-to-follow recipes. Learn the techniques for perfect Japanese rice every time.
13 min read
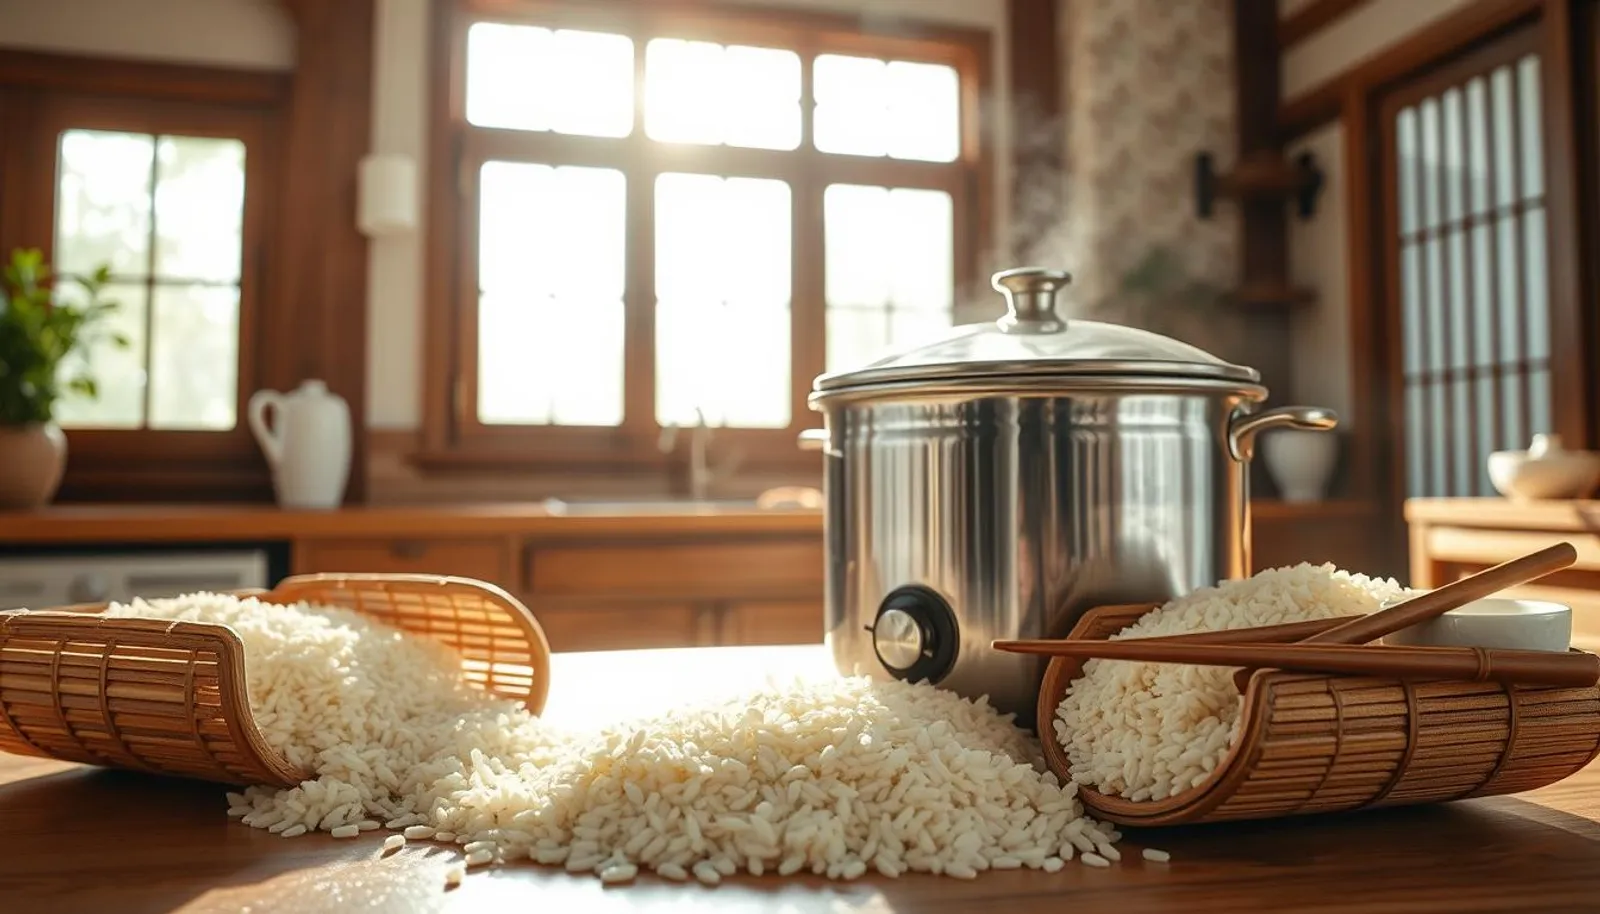
I still remember the first time I watched steam lift from a pot and felt the soft, glossy grains come together. That small moment changed how I think about food at home. This short guide is for anyone who wants to learn a reliable stovetop method and feel proud of the result.
We will focus on short‑grain grains, clear ratios, and honest timing. You’ll learn to wash, soak, simmer, steam, and fluff so your texture is tender and clingy. I’ll mention common U.S. varieties, show the right water-to-cups ratios, and explain resting time so meals turn out the same way every time.
With a heavy pot, tight lid, and a little patience, people in the U.S. can make glossy bowls for weekday dishes or special meals. This guide also includes easy fixes for wet or dry results and ideas for reheating and freezing leftovers.
Key Takeaways
- Master a simple stovetop sequence: wash, soak, simmer, steam, fluff.
- Use correct water and cups ratios for consistent texture.
- Choose short‑grain or labeled “sushi” varieties available in the U.S.
- Resting time and a tight lid make glossy, clingy grains.
- Troubleshooting tips help fix wet, dry, or scorched results.
Why Japanese short‑grain rice matters for perfect texture and flavor
Knowing the starch balance helps you pick the right bag and avoid gummy results.
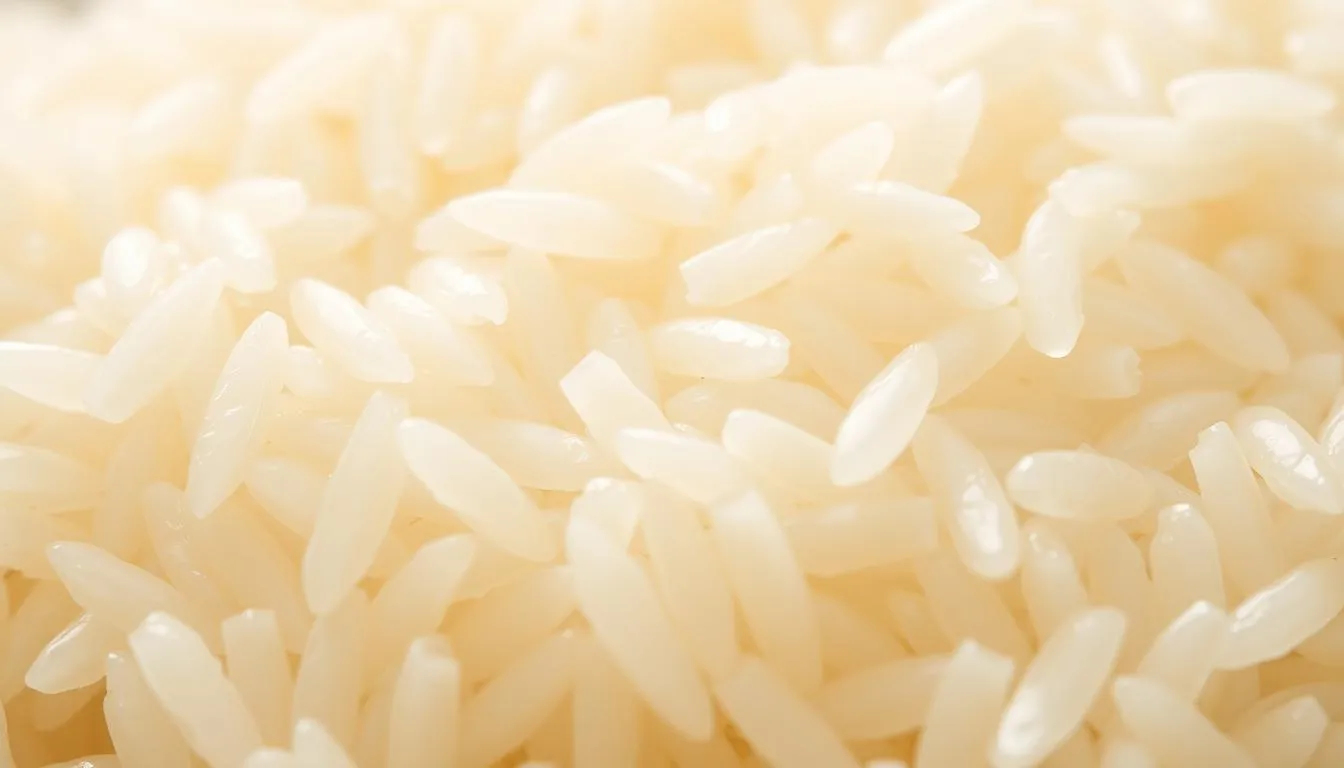
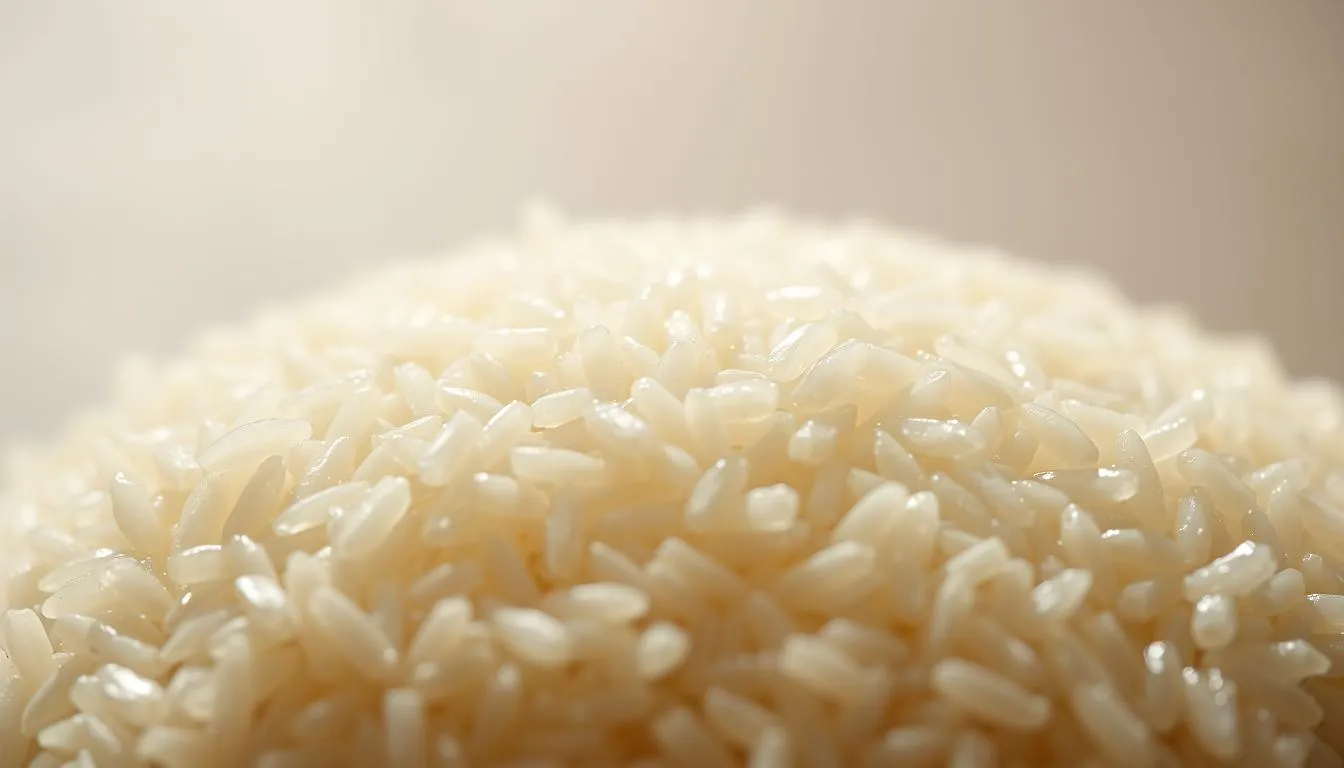
Short‑grain japonica has lower amylose and higher amylopectin. That starch mix makes it moist and clingy without turning mushy. Many people can pick it up with chopsticks because the grains hold together but stay distinct.
Amylose vs. amylopectin
Surface starch from milling coats the rice grains and thickens the cooking water. Rinse until the water runs clearer to avoid gummy results and get a clean, glossy finish.
Labels and the sticky‑rice confusion
“Sushi rice is the seasoned cooked product, not always the bag label.”
Many bags marked “sushi rice” simply mean short‑ or medium‑grain. True sushi rice is seasoned after cooking. And glutinous sticky rice is a different type used for mochi and festive dishes — don’t use it for everyday steamed bowls.
- Practical way to shop: scan for cultivar names like Koshihikari or Hitomebore or the words “short‑grain” to get the right result.
- Quick takeaway: pick the correct variety and rinse well for the classic clingy texture that suits most dishes.
Japanese rice cooking: the golden ratios, times, and core principles
Measure carefully and follow a steady rhythm. Use a simple volume rule to get consistent results each time you cook short‑grain white rice.
Rice-to-water by volume: aim for 1 : 1.1–1.2. That means one rice-cooker cup (180 ml) to about 200–216 ml water, or one US cup (240 ml) to roughly 264–288 ml water. These proportions let you measure with cups and hit the right hydration.
Soak, simmer, steam — the three S’s: soak 20–30 minutes so kernels hydrate through. Bring the pot to a gentle boil, then lower to a steady simmer with the lid closed to trap heat and steam.
Do not open the lid. Lifting the lid drops temperature, stretches the time, and risks undercooked centers. If you must check, peek briefly and close the lid at once.
- Simmer covered about 12–13 minutes, then remove from heat and let rest, covered, for 10 minutes.
- Adjust slightly within 1.1–1.2 to tune softness without losing grain structure.
- Keep notes on pots, flame size, and preferred texture so the same ratio and minutes work every time.
| Measure | Volume (ml) | Typical cook time (minutes) |
|---|---|---|
| 1 rice-cooker cup | 180 rice : 200–216 water | Simmer 12–13, steam 10 |
| 1 US cup | 240 rice : 264–288 water | Simmer 12–13, steam 10 |
| Quick tweak | +5–10% water for softer texture | Add 1–2 minutes simmer if needed |
Choose the right rice and brands for the best results
Start shopping with cultivar names in mind— they tell you more than glossy labels. Picking a known variety helps match flavor, aroma, and texture to the dishes you plan to serve.
Popular short‑grain types include Koshihikari, Sasanishiki, Hitomebore, and Akitakomachi. These cultivars are prized for sweetness and a soft, clingy bite that suits bowls and shaped dishes.
US-available brands to try
Look for Tamaki Gold, Tamanishiki Super Premium, and Shirakiku for consistent quality. These brands are widely stocked in the United States and perform well with the simple stovetop method.
New crop (shinmai) and water adjustments
Shinmai or new harvest has higher water content. Use the low end of the ratio (about 1:1.1) to avoid overly soft results when the content is high.
- Buy modest bag sizes to keep aroma and texture fresh.
- Try two brands side‑by‑side with the same water and time to compare sweetness and chew.
- Focus on cultivar labels rather than vague marketing terms to match type to your favorite dishes.
| Variety | Note | Tip |
|---|---|---|
| Koshihikari | Sweet, fragrant | Excellent for bowls |
| Sasanishiki | Light, clean flavor | Works for delicate dishes |
| Hitomebore | Soft, clingy | Good all‑purpose choice |
Gear that makes cooking rice easier: pot, lid, and tools
A few simple tools cut the guesswork and make every batch more consistent. The right equipment keeps heat steady and steam trapped so you get glossy, separate grains.
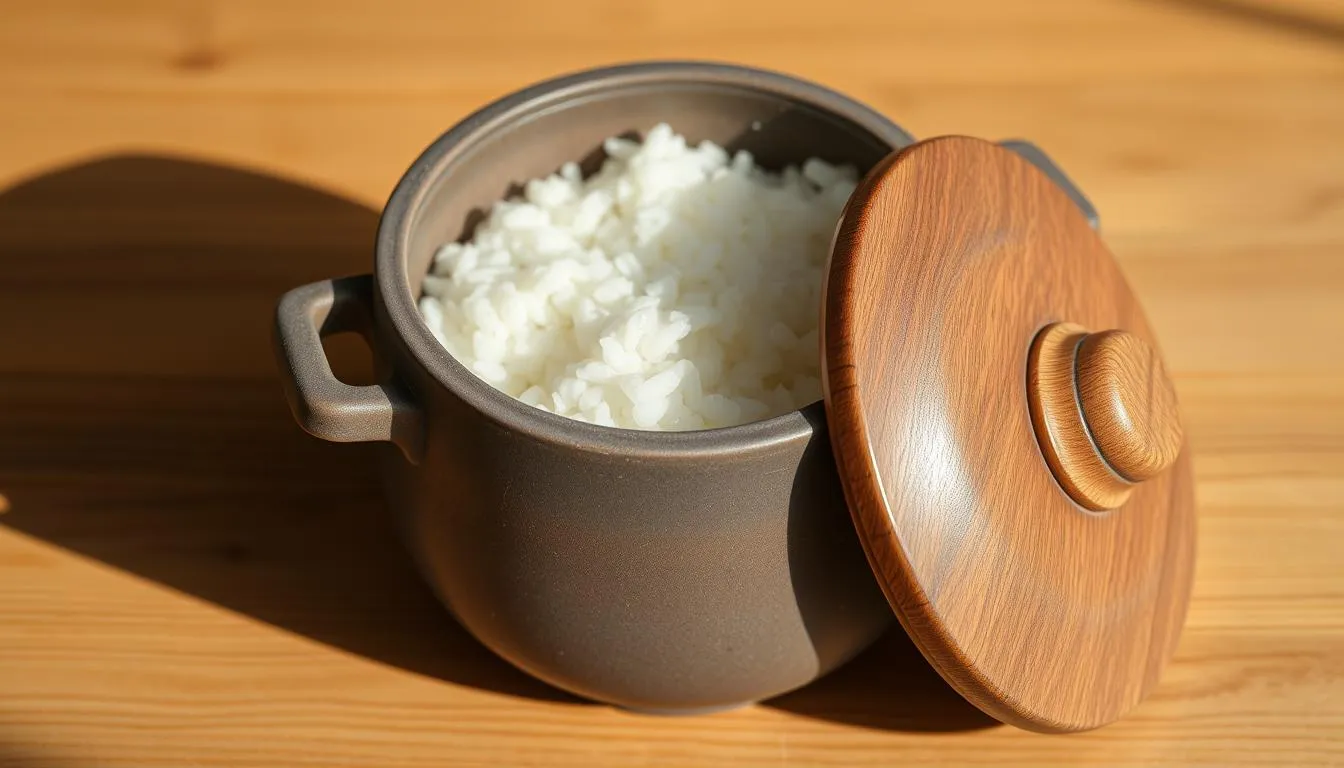
Heavy-bottomed pots hold heat and prevent hot spots that scorch the bottom. A cast-iron Dutch oven—Staub 2.75‑QT, for example—spreads heat evenly and retains steam for steady results.
Choose a lid that seals well
A tight-fitting or clear glass lid traps steam. If the lid is loose, tuck a clean kitchen towel between rim and lid to improve the seal. For a traditional feel, donabe (earthenware) offers gentle, even heat and a lovely stovetop finish.
Small tools that protect the grain
- Rice paddle (shamoji): fold and fluff without mashing to keep a glossy surface.
- Fine‑mesh sieve: drain rinsed rice quickly; avoid metal colanders that can nick grains.
- Measuring cups: use proper rice and water cups so your ratios are repeatable.
Quick tip: If your lid won’t seal well, the towel trick helps trap steam—just keep the cloth clear of open flame. These small choices make the rest of the process easier and more reliable.
Step-by-step: how to wash, measure, and cook Japanese rice on the stove
Begin at the scale: level an 180 ml rice‑cooker cup so your ratio stays consistent. For one cup (180 ml) of grain, add 200–216 ml water. That 1 : 1.1–1.2 range keeps texture reliable every time.
Measure and rinse
Use the rice‑cooker cup or 3/4 US cup and level the top. Discard the first rinse fast to avoid letting grains soak up cloudy rice water.
Wash gently in cold water, agitate in a circular motion for 10–15 seconds, then refresh water and repeat until it is nearly clear. Avoid metal strainers; use a fine‑mesh sieve to drain.
Soak, simmer, and rest
Soak drained grains for 20–30 minutes so they hydrate evenly. Bring the pot to a boil with the lid slightly ajar, then reduce heat to low.
Cook covered about 12–13 minutes, then turn off the heat and let steam for 10 minutes with the lid on.
“Gentle handling and exact measures are what make each bowl consistent.”
Finish and serve
Fluff with a paddle using a folding, slicing motion to separate grains and keep a glossy surface.
| Step | Measure | Time |
|---|---|---|
| Measure | 1 rice‑cooker cup (180 ml) | — |
| Water | 200–216 ml per cup | — |
| Simmer | Low heat, lid on | 12–13 minutes |
| Steam off heat | Covered | 10 minutes |
Troubleshooting texture: too wet, too dry, or scorched bottoms
You can rescue a batch with tiny adjustments to water, time, or flame. Use these quick checks to pin down the problem and test one change at a time.
Adjusting water for age and brand
New‑crop (shinmai) usually needs slightly less water; older bags often need the high end of the ratio. Watch the water content when you buy fresh harvests and tweak by a tablespoon per cup as needed.
Hard cores or underdone grains
If kernels are firm at the center, extend the soak to 30 minutes and add a couple of minutes to the steam time. Small increases in minutes let heat penetrate without adding excess water.
Prevent sticking and scorched bottoms
Use a heavy‑bottomed pot and keep a low, steady heat so the flame doesn’t lick the sides. Avoid opening the lid during simmering; that loss of steam often leaves centers underdone.
- If the pot yields too-wet rice, reduce water slightly next time or shorten simmer minutes by 1–2.
- For dry results, add a tablespoon or two of water and steam covered for a few more minutes.
- If slight scorching occurs, let the pot rest a few minutes before fluffing. Do not scrape the bottom into the bowl.
- When you recalibrate, change only one variable—water, minutes, or heat—so you can see what fixed the issue.
“Small, consistent adjustments turn a frustrated batch into a repeatable result.”
Serving, storing, and reheating: rice bowls, onigiri, and leftovers
Portioning while the grain is still warm makes shaping onigiri quick and tidy. Serve steamed rice in small bowls to balance mains and sides. For portable snacks, mold warm portions into onigiri or rice balls with lightly salted hands.
Shaping and usage tips
Use short‑grain for stick and sheen. Plain steamed rice becomes sushi only after seasoning with vinegar, sugar, and salt. Freshly cooked grain holds shape best, so form onigiri while slightly warm.
Freeze, don’t refrigerate
Pack warm portions into airtight containers, cool fully, and freeze. Freezing prevents starch retrogradation that firms texture. Plan batch sizes by cups—three rice‑cooker cups yield about six bowls—so you defrost only what you need.
Reheat with steam
To revive frozen or chilled portions, microwave covered with a wet paper towel in short minutes bursts, or reheat in a covered pan over gentle heat with a splash of water. For step‑by‑step microwave tips see how to reheat rice.
“Freeze portions in single‑meal packs so bowls are ready every time.”
Conclusion
Small habits — the right cups water ratio, a tight lid, and patient steaming — yield consistent, restaurant-style bowls.
Recap the simple method: measure with a 180 ml rice‑cooker cup, use a 1 : 1.1–1.2 cups water ratio, soak 20–30 minutes, simmer 12–13 minutes, then steam off heat for 10 minutes.
Do not open lid while it cooks. Rely on minutes and cues instead of guessing. Try trusted brands like Tamaki Gold, Tamanishiki, and Shirakiku so your bowls deliver familiar aroma and bite.
Keep notes on your pot, flame, and time. Freeze portions for easy weeknight meals and reheat with steam for a just‑cooked feel. Save this guide as a quick reference and you’ll serve glossy rice grains that elevate everyday meals every time.
FAQ
What type of short-grain rice gives the best texture for sticky, glossy results?
Choose premium short-grain varieties like Koshihikari or Sasanishiki and trusted brands such as Tamaki Gold or Tamanishiki. These have the right balance of amylose and amylopectin to cling without turning mushy, giving that glossy, slightly sticky finish perfect for bowls and onigiri.
How much water should I use per cup for perfect doneness on the stove?
Use about 1:1.1–1.2 rice-to-water by volume for white short-grain. Measure with a rice-cooker cup (180 ml) or an accurate measuring cup. Adjust slightly less water for shinmai (new crop) since it holds more moisture naturally.
Do I need to wash the grains before cooking, and how many rinses are enough?
Yes. Rinse in cold water, discarding the first quick rinse to remove surface starch, then gently agitate and repeat until the water runs clearer—typically 3–4 rinses. Use a fine-mesh sieve or bowl and avoid rough scrubbing to keep grains intact.
Why is soaking important and how long should I soak the grain?
Soaking hydrates the center so heat reaches the core evenly. For white short-grain, soak 20–30 minutes at room temperature. Longer soaking can help older or harder grain become tender; shinmai usually needs less time.
Can I lift the lid while steam finishes the cook?
Avoid opening the lid during simmer and steam phases. Steam and trapped heat complete gelatinization of starch and produce glossy grains. Open only after the off-heat rest to fluff without losing moisture.
What are the correct simmer and steam times for stovetop cooking?
Bring to a boil, then lower heat and simmer 10–13 minutes. After turning off the flame, let it rest and steam with the lid on for about 10 minutes. These timings yield consistent texture for most short-grain varieties.
My bottom layer burns sometimes. How do I prevent a scorched base?
Use a heavy-bottomed pot, cast iron, or Dutch oven for even heat. Reduce flame to a gentle simmer once boiling, and make sure the lid fits tightly. Avoid high direct heat and never stir during cooking, which can cause uneven heat distribution.
How do I fix rice that’s too wet or too dry after cooking?
If too wet, gently fluff and return to low heat with the lid on for 3–5 minutes to evaporate excess moisture. If too dry or hard in the center, add a tablespoon or two of hot water, cover, and steam off-heat for 5–10 minutes.
What tools help get consistent results and protect the grain?
A heavy-bottomed pot with a tight-fitting lid, a wooden or plastic rice paddle, a fine-mesh sieve for rinsing, and an accurate measuring cup are key. Avoid metal strainers that can chip grains.
How should I store leftovers for onigiri and reheating later?
Portion and freeze rice balls or bowls quickly to preserve texture; don’t leave cooked grain long in the fridge. Reheat using steam—wrap with a damp paper towel in the microwave or warm gently on the stovetop with a splash of water for best results.
What’s the difference between sushi rice and glutinous sticky rice?
Sushi-labeled grain is short-grain table rice treated and seasoned for sushi use; it’s sticky but not truly glutinous. Glutinous (sweet) rice is a different variety with much higher stickiness and a different mouthfeel—don’t substitute when making sushi or onigiri.