Discover Imagawayaki Pancakes: A Delicious Japanese Treat
Learn how to make delicious imagawayaki pancakes with our easy-to-follow guide. Discover the secrets to this traditional Japanese treat.
12 min read
I still remember the warm steam rising from a street stall on a rainy evening, the smell pulling me toward a small pan that made a simple, round dessert feel like home. That memory shaped my love for this stuffed snack and inspired this easy, family-friendly recipe.
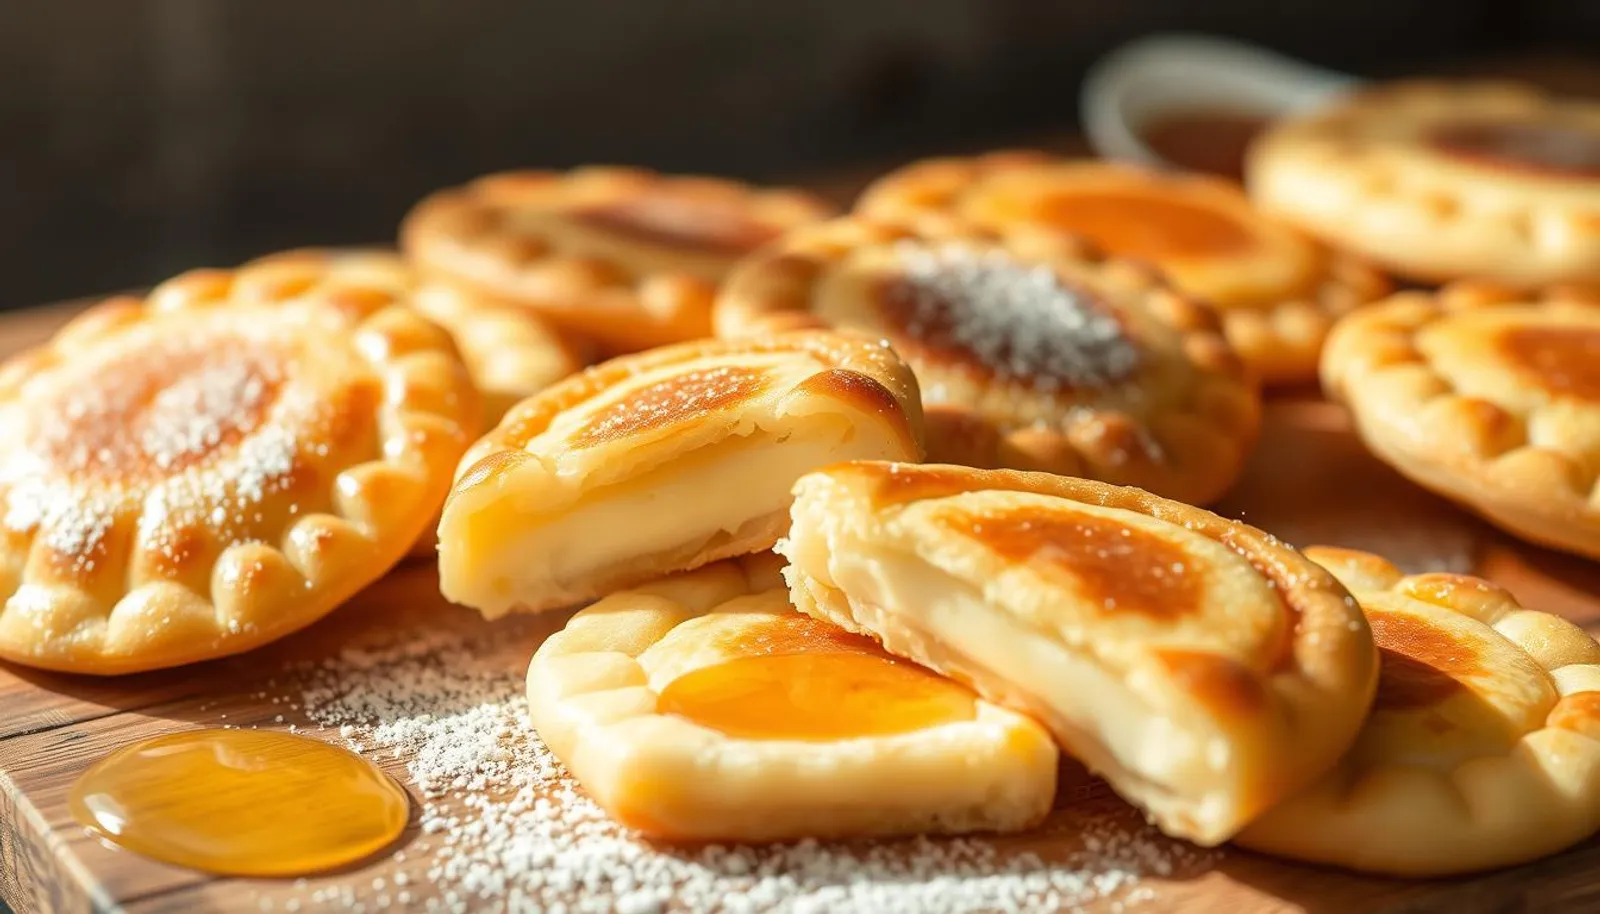
This treat features a crisp shell and a soft, sweet inside, usually filled with red bean paste but also custard or savory fillings. We’ll cover origins and regional names, the special pan and good alternatives, plus clear ingredients and timing so your first batch turns out great.
Expect tips on batter—eggs, milk, flour, sugar and a short rest—plus pro pointers like low heat and wiping excess oil for even color. You’ll also learn storage and reheating tricks to keep the exterior pleasantly crisp. For historical context and regional names, see the short note on its origins at this background page.
Key Takeaways
- This round snack has a crisp shell and sweet, soft inside—classic filling is red bean paste.
- We’ll explain regional names, the special pan, and simple alternatives for home cooks.
- Basic batter rests 15 minutes; cook on low heat for an even golden surface.
- Classic and modern fillings change the texture and flavor—try custard or savory options.
- Storage: refrigerate 2 days or freeze 1 month; re-crisp in a 350°F oven after reheating.
What Are Imagawayaki Pancakes? Origins, Names, and Why They’re Popular
This round street treat grew from a busy Edo bridge stall into a beloved everyday snack across Japan and beyond.
Origin story: The cake began near the Imagawa Bridge in Edo (old Tokyo), sold hot from iron grill pans at market stalls. Vendors used round wells that made neat edges and even browning, which helped the treat catch on as fresh, affordable street food.
Regional names vary. In Kanto it keeps its original name, while Kansai fans call it Obanyaki. Other names include Kaitenyaki, Oyaki, Zuborayaki, and London Yaki. Abroad, similar items are known as wheel cakes and appear in Taiwan and Korea.
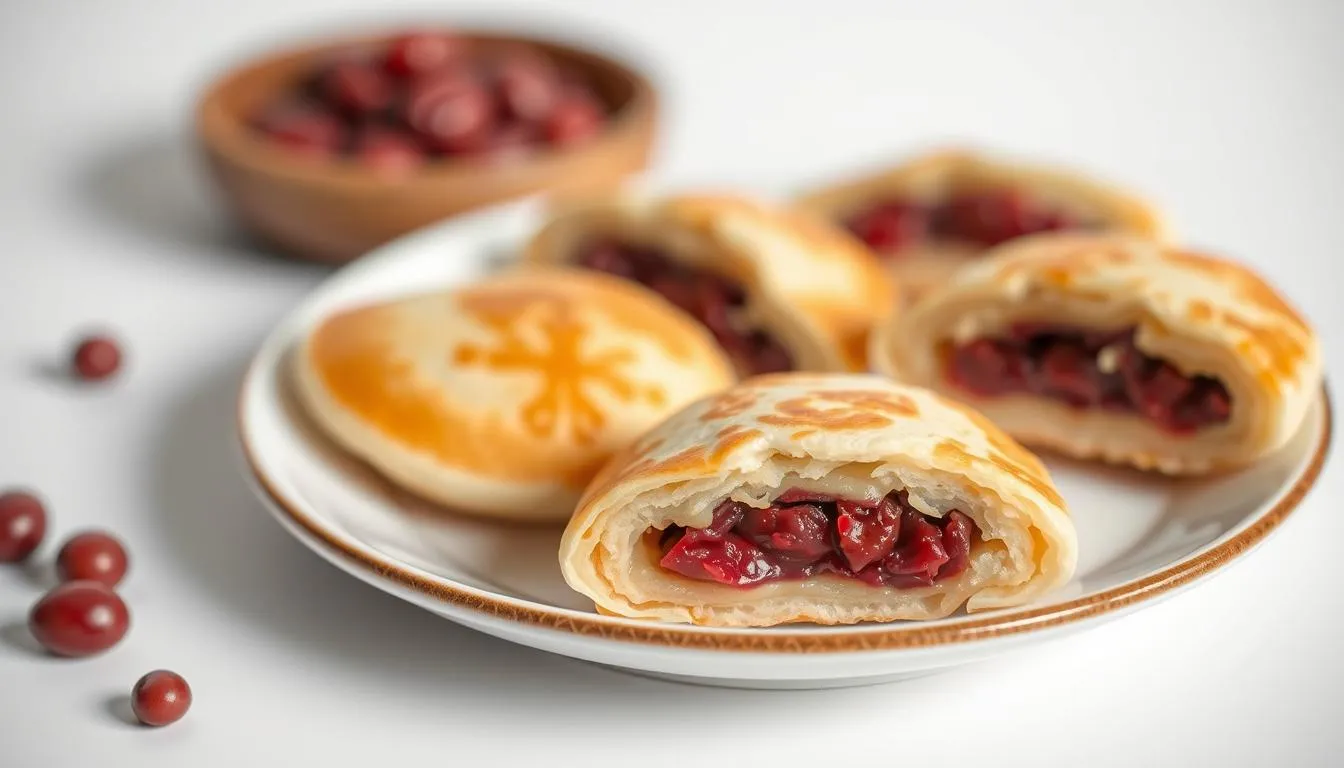
The basic batter uses flour, eggs, sugar, and baking powder. The classic filling is anko, the sweet red bean paste that shapes the dessert’s familiar flavor. Unlike dorayaki, which stacks two small cakes, or taiyaki, which is fish-shaped, this version cooks in a round pan to create a compact, soft-centered cake.
Why it endures: It’s easy to eat while walking, cheap to make, and endlessly adaptable—from traditional bean fillings to modern custard or savory ideas—so it remains a street-food favorite today.
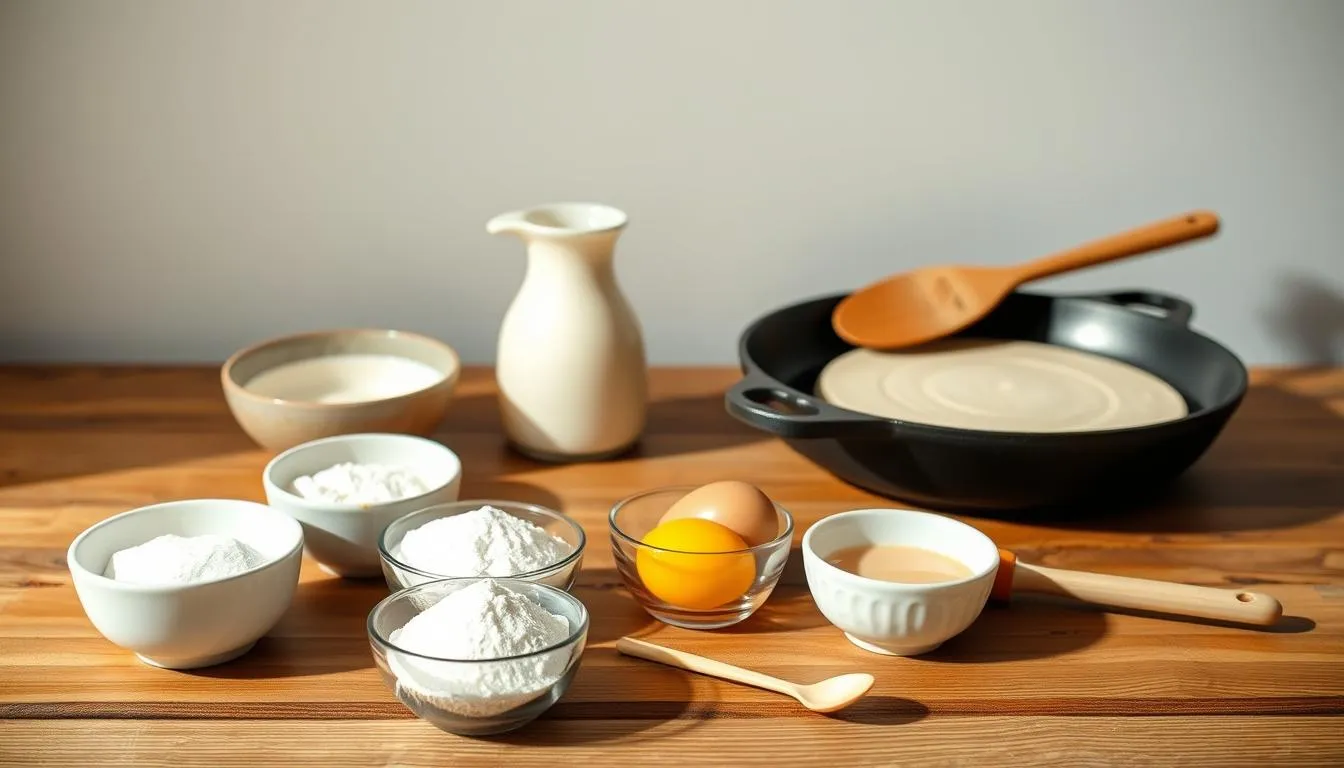
Ingredients and Tools You’ll Need
Start by lining up simple, fresh ingredients and a steady pan for even cooking.
Core batter — In a bowl whisk 2 large eggs, sugar, and honey until smooth. Add whole milk, then sift in all-purpose flour and baking powder. Mix well, cover, and rest at least 15 minutes so the gluten relaxes.
Classic fillings — The traditional red bean paste (anko) and silky custard cream are staples. Shape anko into 50 g discs so each filling sits neatly in the center of the batter piece.
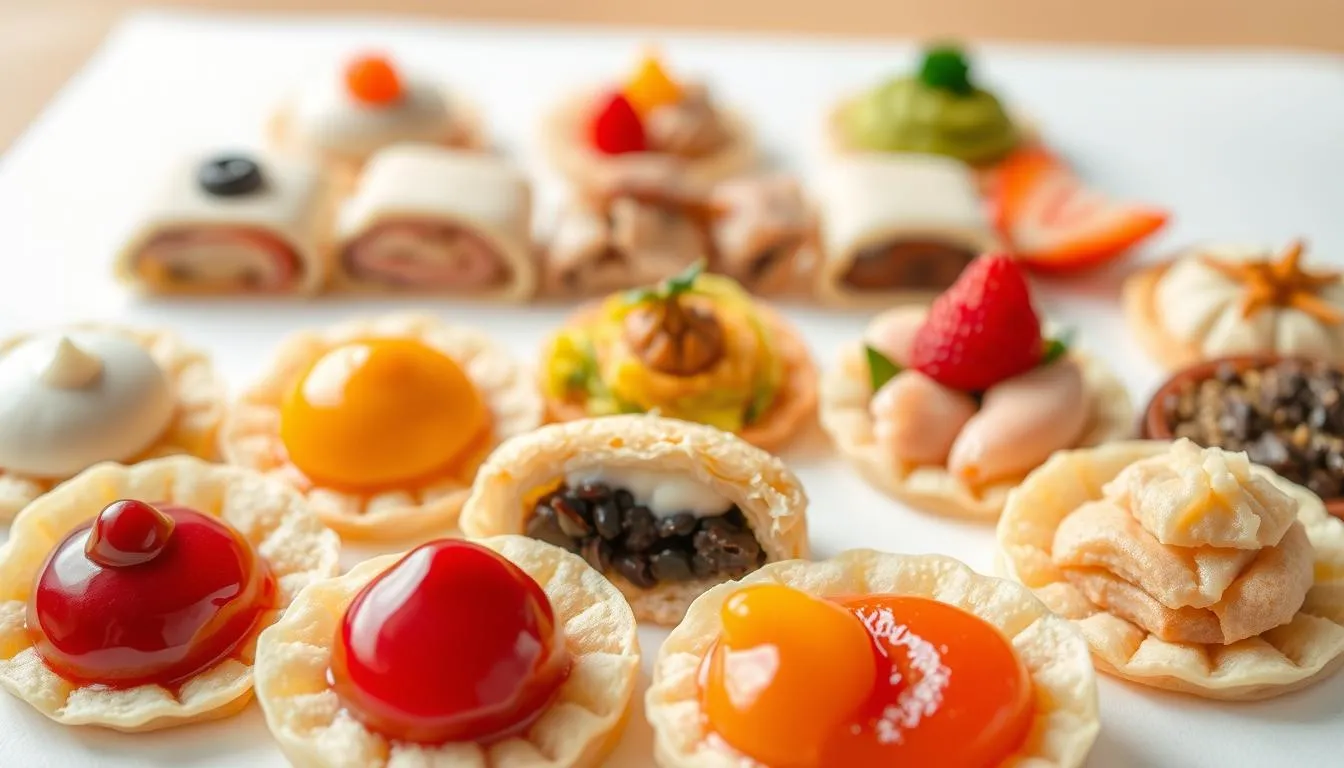
Optional fillings and tools
Try chocolate, matcha, taro, or savory ideas like ham and cheese or curry. Thicker cream needs a few extra minutes of cook time if chilled.
- Core ingredients: flour, eggs, sugar, honey, milk, baking powder.
- Pour batter from a spouted cup for cleaner fills and consistent volume per piece.
- Gear check: cast-iron pan (preferred), metal rings, small spatulas, neutral oil, brush, and wire rack for cooling.
| Item | Purpose | Tip |
|---|---|---|
| Cast-iron pan | Even heat and crisp shell | Lightly oil, then wipe off excess for even browning |
| Spouted cup | Pour batter accurately | Helps to pour batter into multiple wells cleanly |
| Anko discs (50 g) | Consistent filling size | Shape ahead to keep cook times steady |
For more gear ideas and recipes for custard cream or red bean paste, check this practical guide on classic fillings and tools.
How to Make Imagawayaki Pancakes Step by Step
Good timing and a calm pan create the crisp outside and soft inside everyone loves.
Mix the batter: In a bowl whisk egg, sugar, honey, and milk until smooth. Sift flour and baking powder into the wet mix and mix well just to combine. Cover and rest the batter 15 minutes so gluten relaxes and the crumb stays tender.
Portion the filling: Shape 50 g red bean paste discs or prepare chilled custard cream filling. Have them ready so you can drop each filling into the center without delay.
- Heat management: Preheat your pan slowly on low heat to roughly 350°F. Lightly brush wells with neutral oil, then wipe excess oil so the surface browns evenly.
- First pour: Pour batter halfway into two wells and cook minutes for 2 to set the base. Nestle a red bean disc or a scoop of custard cream into each and start a 3-minute timer.
- Fill the rest: After 1 minute, pour batter one-third full into the empty wells so they’ll be ready to cap. When 3 minutes end, flip filled halves onto plain halves to sandwich and press gently.
- Finish: Cook minutes for about 2 more on the second side. For chilled custard, add a few extra minutes so the inside warms through. Cool on a wire rack to keep a crispy outside while steam escapes.
| Step | Action | Timing |
|---|---|---|
| Mix | Whisk wet, sift flour, mix well, rest | 15 minutes |
| Preheat | Warm pan on low heat, oil then wipe excess oil | To ~350°F |
| Cook | Pour batter, add filling, flip and press | 2 min / 3 min / 2 min |
Pro tip: Watch the edges and listen for a faint sizzle—those cues help you judge cook minutes and when each side has the perfect color without drying the inside.
Fillings, Variations, and Regional Twists
A single switch in filling can turn a familiar snack into something new and memorable.
Tsubuan vs. Koshian
Two classic styles of anko: tsubuan keeps bean skins for a chunky bite, while koshian is strained smooth for a silky center.
| Style | Texture | Best for |
|---|---|---|
| Tsubuan | Chunky | Textured contrast with crisp shell |
| Koshian | Smooth | Refined dessert presentations |
Creamy and modern sweets
Custard cream offers a soft, custard-rich heart that many vendors now serve. Chocolate, matcha, and taro are popular café twists.
Savory ideas and practical tips
Try ham and cheese or mild curry for a savory turn. Use lower-moisture fillings so the pancake keeps a crisp edge.
- Portion bean paste finely to center the filling and avoid leaks.
- Adjust batter volume or use rings in your pan to make thicker or thinner cakes.
- Pair sweet fillings like anko with banana or a dusting of matcha for balance.
Regional note: Names and preferred fillings shift by region, so sampling local versions helps you discover new favorite combos.
Pro Tips, Troubleshooting, and Storage
A few smart habits in the kitchen will help every piece cook evenly and taste its best.
Even color and texture
Preheat slowly and grease lightly. Use a cast-iron pan or a heavy skillet. Brush wells with oil, then wipe excess so the surface browns evenly.
Prevent undercooked centers
Keep heat on low heat and track minutes per side. If the center feels soft, add a minute or two—adjust cook minutes when using chilled custard or a dense bean paste.
No pan? Smart alternatives
Use two metal rings or a DIY paper-and-foil mold in a non-stick pan. Pour batter from a spouted cup to keep each piece consistent.
Serve, reheat, and store
Store cooled cakes in an airtight container for up to 2 days or freeze to 1 month. Rewarm briefly in the microwave, then bake at 350°F to restore a crispy outside.
| Issue | Cause | Fix |
|---|---|---|
| Mottled color | Too much oil on surface | Wipe oil, preheat slowly |
| Undercooked center | Heat too high or short time | Lower flame, add minutes per side |
| Leaky filling | Thin batter or oversized paste | Adjust batter in a bowl, portion fillings |
Conclusion
A simple iron pan and a steady hand can turn basic flour and batter into a beloved, filled street dessert.
Wrap up: This treat remains imagawayaki popular from Edo-era stalls to modern kitchens. Classic anko and red bean paste give the signature taste, while custard cream and other cream filling options let you personalize each piece.
For best results, preheat gently, wipe excess oil, and time each stage so the shell browns evenly and the inside stays tender. Use a pan or ring molds and a balanced batter to shape tall, tidy pancake rounds.
Serve warm for the best contrast, and reheat to re-crisp after chilling or freezing. Try sweet or savory fillings—small tweaks in batter and pan prep make a big difference in texture and flavor.
Final note: With these steps and a bit of practice, anyone can master golden, filled pancakes that turn simple ingredients into a memorable dessert for family and friends.
FAQ
What are these round Japanese snacks and where did they come from?
These sweet rounds date back to the Edo period as a popular street snack. Vendors cooked batter in molds and filled each cake with sweet bean paste or cream, making them a comforting, portable treat that spread across Japan and later worldwide.
What names do they go by in different regions?
In various parts of Japan they’re called Obanyaki, Kaitenyaki, and other local names. The basic concept stays the same: a molded batter exterior with a sweet or savory filling like red bean paste or custard cream.
How are they different from dorayaki and taiyaki?
Unlike dorayaki, which are two flat pancakes sandwiched together, these are made in a mold so each piece is filled inside. Taiyaki are fish shaped and cooked in a different mold; the texture and presentation differ even when fillings overlap.
What basic ingredients and tools do I need to make them at home?
You’ll need flour, eggs, sugar, milk, baking powder, and a little honey for the batter. For fillings, classic choices are red bean paste (anko) or custard cream. Useful gear includes a cast-iron or nonstick mold, spatulas, and a paper towel to wipe excess oil.
Should I use tsubuan or koshian red bean paste?
Tsubuan has whole or partially mashed beans and gives texture, while koshian is smooth and silky. Choose tsubuan for a rustic bite or koshian for a refined, creamy mouthfeel. Both heat well and pair nicely with the batter.
How do I make a smooth custard filling that won’t leak?
Cook a custard on low heat until thick, cool it completely, and chill before portioning. Thicker, chilled custard holds shape better during filling and results in a creamier center without leaking during the final cook.
What’s the best cooking method to get a crispy outside and soft inside?
Preheat the mold on low heat, wipe a thin layer of oil so batter won’t stick, then pour batter, add filling, and cover. Cook slowly on low to medium-low so the inside sets without burning the exterior. Flip or close the mold as needed for even browning.
How long should each side cook and how do I avoid undercooked centers?
Cook times vary by mold and heat but typically a few minutes per side on low to medium-low heat work well. Keep heat gentle, check color often, and press gently to test for firmness. If centers remain soft, lower heat and increase total cook time slightly.
Can I make savory versions and what fillings work well?
Yes. Savory options include ham and cheese, curry, or chopped vegetables. Use thicker fillings so they don’t leach moisture into the batter; pre-cook wet ingredients and drain excess liquid before assembling.
What if I don’t have a specialized mold—are there alternatives?
Use a small cast-iron skillet, an electric takoyaki or waffle iron with round indentations, or metal ring molds on a griddle as alternatives. Adjust batter portions and cooking time to match the depth of your substitute mold.
How should I store leftovers and reheat them to keep texture?
Cool completely, then store in an airtight container for up to two days or freeze for longer. To reheat and keep a crisp edge, toast in a skillet or oven at moderate heat until warmed through. Microwaves soften the exterior, so use them only if pressed for time.
Any tips for even color and texture when cooking?
Pour batter smoothly to cover the mold base, avoid overfilling, and wipe excess oil between batches. Maintain steady, low heat—hot spots cause uneven browning. Let batter rest before cooking to relax gluten for a tender crumb.
Can I make the batter ahead of time and how long will it keep?
Yes, you can make batter and refrigerate it up to 24 hours. Return it to room temperature and whisk gently before cooking. Resting improves texture but don’t store it longer than a day to avoid fermentation or loss of leavening power.