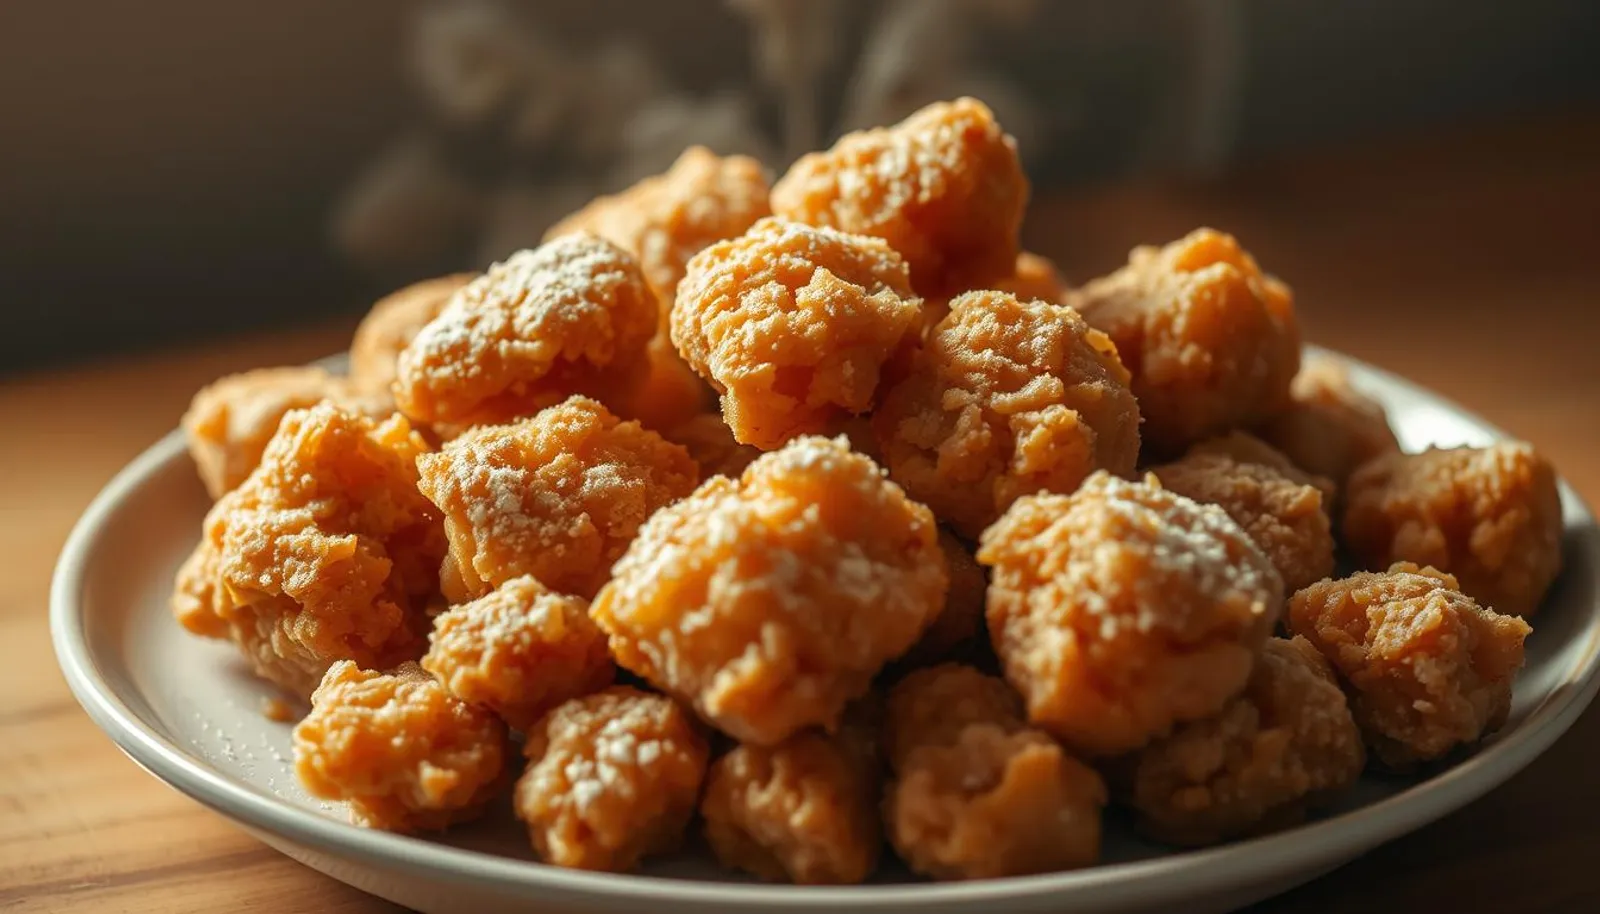
Karaage Japanese Fried Chicken: Crispy & Flavorful
Craving karaage Japanese fried chicken? Our easy-to-follow recipe helps you achieve crispy, flavorful fried chicken at home.
15 min read
Karaage Japanese Fried Chicken: Crispy & Flavorful
I still remember the first time I bit into a piece that crackled—steam, warmth, and an instant smile. That memory is why I keep returning to this simple, satisfying recipe.
This guide walks you through a friendly, step-by-step recipe that delivers a shatteringly crisp crust and tender meat using pantry ingredients and careful oil and temperature control.
You’ll learn why chicken thighs are best for juiciness, how a short savory marinade builds depth, and why potato starch and a quick second fry lock in crunch without excess fat.
Practical tips cover oil choice, thermometer use, and reheating tricks so leftovers re-crisp. If you want a deeper walkthrough, see this trusted version of japanese fried chicken for more context.
Key Takeaways
- Short marinade and potato starch yield a light, crunchy coating.
- Use boneless, skin-on chicken thighs for flavor and juiciness.
- Control temperature: a lower first fry, then a hotter second fry for crispness.
- Choose neutral oil and use a thermometer for safe frying.
- Serve hot with lemon and mayo, and re-crisp leftovers in a 350°F oven.
What Makes Karaage Special: A Quick Overview
What sets this method apart is a smart balance of marinade and high heat. A short soak in soy, sake, grated ginger, and garlic seasons the meat deeply without long wait time. Small, even pieces cook fast and stay juicy.
Golden crust, juicy center: using skin-on thighs helps produce a craggly, golden surface while the interior remains tender. A light coat of potato starch—or a mix with flour—creates a lacy, lasting crunch.
“A quick marinade and precise oil temperature give you crisp skin and a clean, non-greasy bite.”
Quick highlights
- Marinade: soy, sake, ginger, garlic for savory depth.
- Coating: potato starch for crispness; add a bit of flour for structure.
- Cook: monitor oil temperature and fry in batches for even color.
| Coating | Texture | Best for |
|---|---|---|
| Potato starch | Light, glassy crunch | Crisp, quick bites |
| Potato + flour | Craggly, sturdy | Longer hold time, lunch boxes |
| Cornstarch | Fine, delicate | Subtle crunch, allergy swaps |
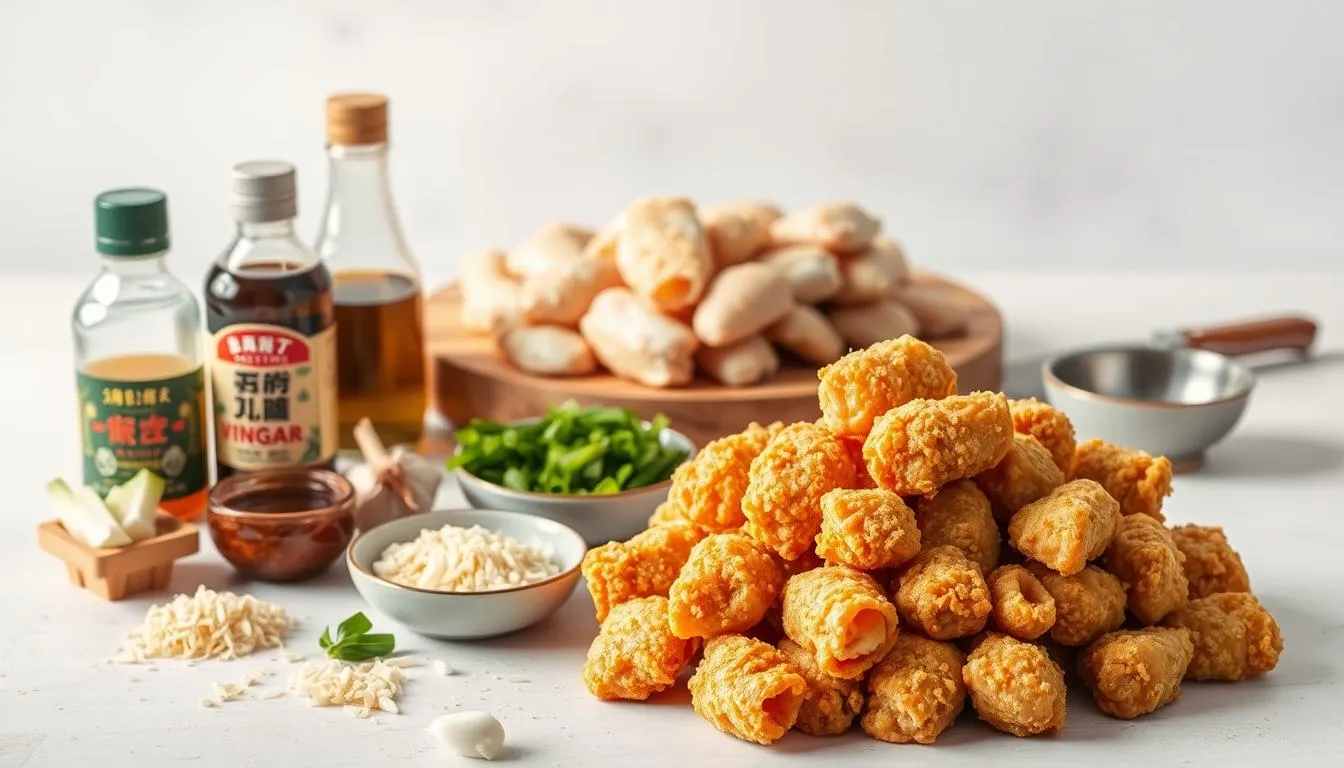
Essential Ingredients for Crispy, Flavorful Karaage
The difference between satisfactory and spectacular comes down to a few key ingredients and the right equipment. Pick each item with purpose so the coating crisps and the meat stays juicy.
Chicken thighs vs. breasts: choosing the best cut
Boneless, skin-on chicken thighs are the go-to for juiciness and flavor. The skin crisps while the interior stays tender.
Breasts will work if you prefer lean meat, but they need a shorter cook and careful timing to avoid drying out.
Marinade must-haves
Make a quick marinade with ½–1 Tbsp soy sauce, a splash of sake (or substitute), grated ginger, and garlic. Add a few drops of toasted sesame oil for depth.
Marinate in a bowl for 30 minutes for good flavor; overnight gives more depth without extra fat.
Starch and coating choices
Potato starch (katakuriko) gives a light, glassy crunch. Cornstarch or rice flour are fine backups if needed.
Keep starch and a little flour in separate shallow dishes so you can dust pieces first, then press on potato starch for craggly texture.
Oil and tools
Use a neutral, high smoke point oil—canola, avocado, or peanut—to keep flavors clean and deliver even browning.
A sturdy dutch oven and a reliable thermometer help hold steady heat. Drain on a wire rack over a sheet pan to keep the crust crisp.
- Season with kosher salt and freshly ground black pepper before frying.
- Marinate in a bowl large enough to toss pieces evenly for consistent seasoning.
Karaage Japanese Fried Chicken
Perfect crunch depends on two short, precise cooking stages. Mastering heat and minutes makes the crust crisp while the interior stays juicy.
Cut pieces to 1–2 inches so they finish at the same time. Lightly dust with flour, then press on potato starch to form a craggly surface that browns well.
Time and temperature: the foundation of perfect fry
Start with a first fry at about 325–350°F for roughly 90 seconds to 3–4 minutes. This sets the coating without overcoloring.
Rest briefly on a rack; carryover heat continues cooking while the exterior dries slightly.
For the second pass, raise the oil temperature to 350–375°F and fry 45 seconds to 1–2 minutes until deep golden brown. Small batches keep the oil temperature steady between rounds.
“Two-stage frying locks in crispness and minimizes greasiness.”
- Monitor oil temperature with a thermometer for consistent results.
- Watch visual cues: pale gold after the first fry, deeper color and tighter bubbles after the second.
| Stage | Oil Temp (°F) | Minutes | Visual Cue |
|---|---|---|---|
| First fry | 325–350 | 1.5–4 | Pale golden, set crust |
| Rest | — | 30–90 sec | Surface dehydrates slightly |
| Second fry | 350–375 | 0.75–2 | Deep golden brown, tight bubbles |
Marinate Like a Pro: Flavor and Texture Boosters
Marinating correctly is the quickest way to boost both taste and texture. Season the chicken with salt and pepper, then whisk soy sauce, sake, grated ginger, minced garlic, and a touch of sesame oil in a bowl.

Ideal marinating window: 30 minutes gives balanced flavor without tightening the meat. Overnight deepens savoriness, and some cooks go 24–48 hours for extra punch.
Cut thighs into even 1–2 inch pieces before marinating so seasoning penetrates and every piece cooks uniformly. Avoid long marinate time in very salty mixes to prevent a chewy texture.
Sake swaps and safety
If you don’t have sake, dry sherry or Shaoxing wine work well. You can also skip it and still follow a solid recipe.
“Pat pieces lightly before dredging so starch adheres and the coating stays even.”
- Marinate covered in the fridge for food safety.
- Lift pieces from the bowl and let excess drip before dredging.
- A small splash of oil in the mix helps aromatics spread but is optional.
| Step | Ingredient | Purpose |
|---|---|---|
| Season | Salt, pepper | Basic flavoring |
| Mix | Soy sauce, sake, ginger, garlic | Umami, brightness |
| Rest | 30 min–overnight | Flavor penetration, texture control |
Coating That Stays Crunchy: Flour, Starch, and Technique
A delicate, two-step dredge is the secret to a crust that stays crisp long after frying. Prepare two shallow piles: one of all-purpose flour and one of potato starch (or cornstarch if needed).
Lightly dust each piece in flour, then tap off the extra. Pack the starch onto the surface so those signature craggly bits form.
Press the dredge into any bare spots, then gently shake excess so the coating fries crisp, not chalky. Rest coated pieces on a wire rack while the oil heats.
“A thin flour veil helps the starch cling without turning gummy.”
- Keep flour and starch separate to control coverage.
- Work in small batches to prevent moisture buildup.
- Use tongs or dry hands to avoid matting the coating.
- For a thicker crust, add more starch—not more flour.
For extra guidance, follow a trusted recipe that demonstrates the technique step by step.
Frying Method: Oil Temperature, Double Fry, and Doneness
A steady, predictable oil temperature is the single best tool for crisp results every time. Heat oil gradually and verify with a thermometer before adding any pieces. Use a heavy pot so the heat recovers between batches.

First fry — set the crust
Heat oil to about 325–350°F and add 3–5 pieces at a time. Cook for roughly 90 seconds to 4–5 minutes depending on size. Keep the temperature at least near 300–325°F so the crust sets without soaking up excess fat.
Second fry — finish crispness
After a short rest on a wire rack, raise heat to 350–375°F. A brief 45–60 seconds to 1–2 minutes will push the color to deep golden brown and tighten the surface. Watch for smaller, rapid bubbles as a visual cue.
Clean oil and proper drainage
Drain finished pieces on a rack, not paper, so steam escapes and the crust stays crisp. Skim crumbs between batches with a fine strainer to keep oil clear and prevent off-flavors.
“Work in small batches and trust the thermometer — consistent temperature makes the crunch repeatable.”
- If temperature dips below 300°F, reduce batch size and wait for recovery.
- Use a thermometer clipped to the pot and a dutch oven for steady heat.
- Patience during rests on the wire rack improves final texture.
Step-by-Step Recipe Walkthrough
Follow this clear walk-through to move from prep to plate with steady timing and confident heat control.
Prep and cut
Trim and cut boneless thighs into even 1–2 inch pieces so they cook uniformly. Small, consistent pieces finish at the same time and keep the interior juicy.
Marinate
In a bowl, combine soy, sake, grated ginger, minced garlic, and a splash of sesame oil. Toss the pieces and refrigerate 30–60 minutes or overnight for deeper flavor.
Dredge
Set two shallow dishes: one with flour, one with potato starch (or cornstarch if needed). Lightly dust in flour, then pack starch onto the surface so no spots are bare.
First fry, rest, second fry, serve
- Heat oil to about 325–350°F. Fry small batches until the coating is set and pale golden, roughly a few minutes.
- Drain on a wire rack and let the oil recover; this keeps the temperature steady between batches.
- Raise oil to 350–375°F and finish each batch until the crust is richly colored and crisp.
- Transfer to a rack to drain. Do not stack hot pieces — steam will soften the crust.
“Work in small batches and trust the thermometer—consistent heat makes the crunch repeatable.”
Serve immediately with a quick mayo dip: Kewpie mayo, sriracha, lemon juice, and grated garlic. Sprinkle with cracked pepper or shichimi and add lemon wedges for brightness.
Tips, Variations, and Serving Ideas
Simple fixes and thoughtful pairings will save a soggy crust and lift every bite. Use small batches and steady heat to keep the coating crisp and the meat juicy.
Common mistakes and quick fixes
Don’t crowd the pot. Fry 3–5 pieces at a time so oil temperature recovers quickly.
If the crust turns soggy, reduce batch size, raise heat slightly, and wait for the oil to return to temp before adding more.
Pat pieces dry before dredging and pack on starch so no bare spots fry unevenly.
Make it gluten-free and alternate starches
Swap flour with potato starch or rice flour for a reliable gluten-free crust. Cornstarch also works well when you want a finer, delicate texture.
Serving suggestions and quick sauces
Serve hot with lemon wedges and a side of Kewpie mayo. Stir a little lemon juice or soy into mayo for a bright dipping sauce.
A sprinkle of shichimi togarashi or freshly cracked black pepper adds aroma and heat.
How this method differs from katsu and tatsuta-age
Katsu uses panko-breaded cutlets and tonkatsu sauce. It’s a different texture and usually uses breast meat.
Tatsuta-age leans on a simpler soy-forward marinade and only potato starch, giving a paler but crisp finish.
Pairings
Pair with a crisp salad, a bowl of ramen, a bento box, or an appetizer platter for sharing.
“When scaling up, use a larger pot or two burners so oil heat stays steady and results stay consistent.”
| Style | Breading | Typical cut |
|---|---|---|
| Katsu | Panko | Breast |
| Tatsuta-age | Potato starch | Thighs |
| This recipe | Flour + potato starch | Thighs |
Storage and Reheating for Peak Crispness
Letting pieces cool fully before storage keeps the crust from steaming soft. Cool on a rack so air circulates and condensation won’t form. Do not seal warm pieces; trapped steam ruins texture.
Refrigerate in an airtight container for 3–4 days. For longer storage, freeze in a single layer, then move to a sealed bag. This prevents pieces from sticking and protects the coating.
Best reheating method
Preheat oven to a temperature of 350°F. Place pieces on a rack set over a sheet pan and reheat for 7–8 minutes. Add extra minutes for larger pieces until hot through and crisped.
- Avoid microwaving; it makes the coating rubbery.
- If frozen, reheat straight from the freezer at 350°F and extend time until center is hot.
- A light mist of oil can restore sheen without excess fat.
- Reheat in waves if you have a large batch so hot air circulates between pieces.
“Let pieces rest 1 minute on the rack after reheating so the crust sets and stays crunchy.”
| Storage | Time | Reheat |
|---|---|---|
| Refrigerator | 3–4 days | 350°F, 7–8 minutes on rack |
| Freezer (single layer) | 1–4 months | 350°F, add minutes as needed |
| Tip | — | Mist oil lightly, avoid microwave |
Conclusion
Mastering a few simple steps will get you crisp bites and juicy interiors on demand.
Remember: this recipe hinges on a short marinade of soy sauce, sake, grated ginger, and garlic, a tight potato starch coating, and two controlled fries in clean, hot oil. Use skin-on thighs for the best texture. Rest pieces on a wire rack so steam won’t soften the crust.
Serve with lemon and Kewpie mayo or a bright sauce, and reheat at 350°F for 7–8 minutes to restore crispness. With steady temperature, smart timing, and small batches you’ll confidently turn out golden, crowd-pleasing japanese fried chicken every time.
FAQ
What cut of meat gives the juiciest result?
Thighs with skin deliver the best balance of fat and flavor, keeping the meat moist during frying. Use boneless thighs cut into 1–2 inch pieces for even cooking and a tender bite.
How long should I marinate for maximum flavor?
Aim for at least 30 minutes to let soy, ginger, and garlic penetrate. For deeper flavor and slightly more tender texture, marinate up to overnight in the fridge. Avoid long marinades with lots of acid if you want firm, not mushy, meat.
Can I substitute sake in the marinade?
Yes. Dry sherry or Shaoxing wine work well as an alcohol swap. If you prefer no alcohol, use a little extra soy and a splash of water or chicken stock to maintain moisture.
Potato starch or cornstarch — which is better?
Potato starch creates a very crisp, craggy exterior that clings well to the meat. Cornstarch is a fine substitute if needed, but expect a slightly different texture. Rice flour gives a lighter, more delicate crunch.
What oil and temperature should I use for frying?
Use a neutral oil with a high smoke point, like canola or peanut oil. Heat for the first fry around 325–330°F, then finish with a second fry at 375–380°F for golden, extra-crisp results.
Why do some recipes call for a double fry?
Double frying cooks the meat through at a gentler temperature, then crisps the exterior at a higher heat. This method reduces oil absorption and keeps the coating crunchy longer.
How can I avoid a soggy crust?
Fry in small batches so oil temperature stays steady, shake off excess dredge before frying, and drain pieces on a wire rack instead of paper towels. Let pieces rest a few minutes after the first fry before the second fry to promote crisping.
Do I need to pat the meat dry before marinating?
Yes. Patting the pieces dry with paper towels helps the marinade adhere and prevents excess moisture from diluting the coating, which improves crispness.
How long does leftover fried chicken keep, and how do I reheat it?
Store cooked pieces in the refrigerator for up to 3–4 days or freeze for 1–2 months. Reheat in a hot oven (400°F) on a wire rack for 8–12 minutes from chilled, or longer from frozen, to restore crunch without drying the meat.
Can I make a gluten-free version?
Absolutely. Substitute tamari or a gluten-free soy sauce and use potato starch or rice flour instead of wheat flour. Ensure any other seasonings are certified gluten-free.
What are common seasoning add-ins and serving suggestions?
Popular additions to the marinade include sesame oil, a pinch of black pepper, and a little sugar to balance salt. Serve with lemon wedges, Kewpie mayonnaise, and shichimi togarashi, or pair with rice, ramen, or a simple salad.
How can I tell when pieces are done by sight?
The coating should turn from pale to light golden on the first fry and deepen to a richer golden brown after the second. Juices should run clear when pierced and the internal temperature should reach 165°F.
Is it better to use skin-on or skinless pieces?
Skin-on pieces add flavor and extra crispiness as the skin renders during cooking. If you prefer lighter bites, skinless works fine but may be slightly less juicy and crisp.
Can I shallow-fry instead of deep-frying?
You can shallow-fry in a skillet if you maintain even oil depth and turn pieces carefully, but deep-frying yields the most consistent, even crust and color. If shallow-frying, use more oil than a minimal coat and work in batches.