The Story Behind Japanese Burnt Rice: Tradition and Taste
Discover the art of making Japanese burnt rice with our step-by-step guide. Learn techniques and traditions behind this beloved dish.
12 min read
There are dishes that hold memory in their crunch. I still recall the soft hum of a home kitchen and the tiny, welcome crackle when the bottom turned golden. That sound marked a small, delicious triumph.
This intro explores how a simple crust became beloved. Scorched rice appears in many places, from tahdig to nurungji, and it shows how people reframe a cooking accident into a prized part of a meal.
In this guide, we’ll use a friendly, step-by-step way to coax rice into a unified, crispy sheet. You won’t need special gear—just basic pans, water, and gentle heat.
Along the way, you’ll see how cultures around world created unique methods and recipes. Expect practical tips, safety cues to reach golden not bitter, and simple ideas to turn leftovers into snacks.
Key Takeaways
- Scorched rice connects many cuisines by its toasty flavor and crunch.
- Simple tools and low heat make a crispy crust at home.
- Learn cues to aim for golden, not black, results.
- Recipes draw on global ideas like nurungji and tahdig.
- Versatile outcomes: side dish, snack, or soothing tea.
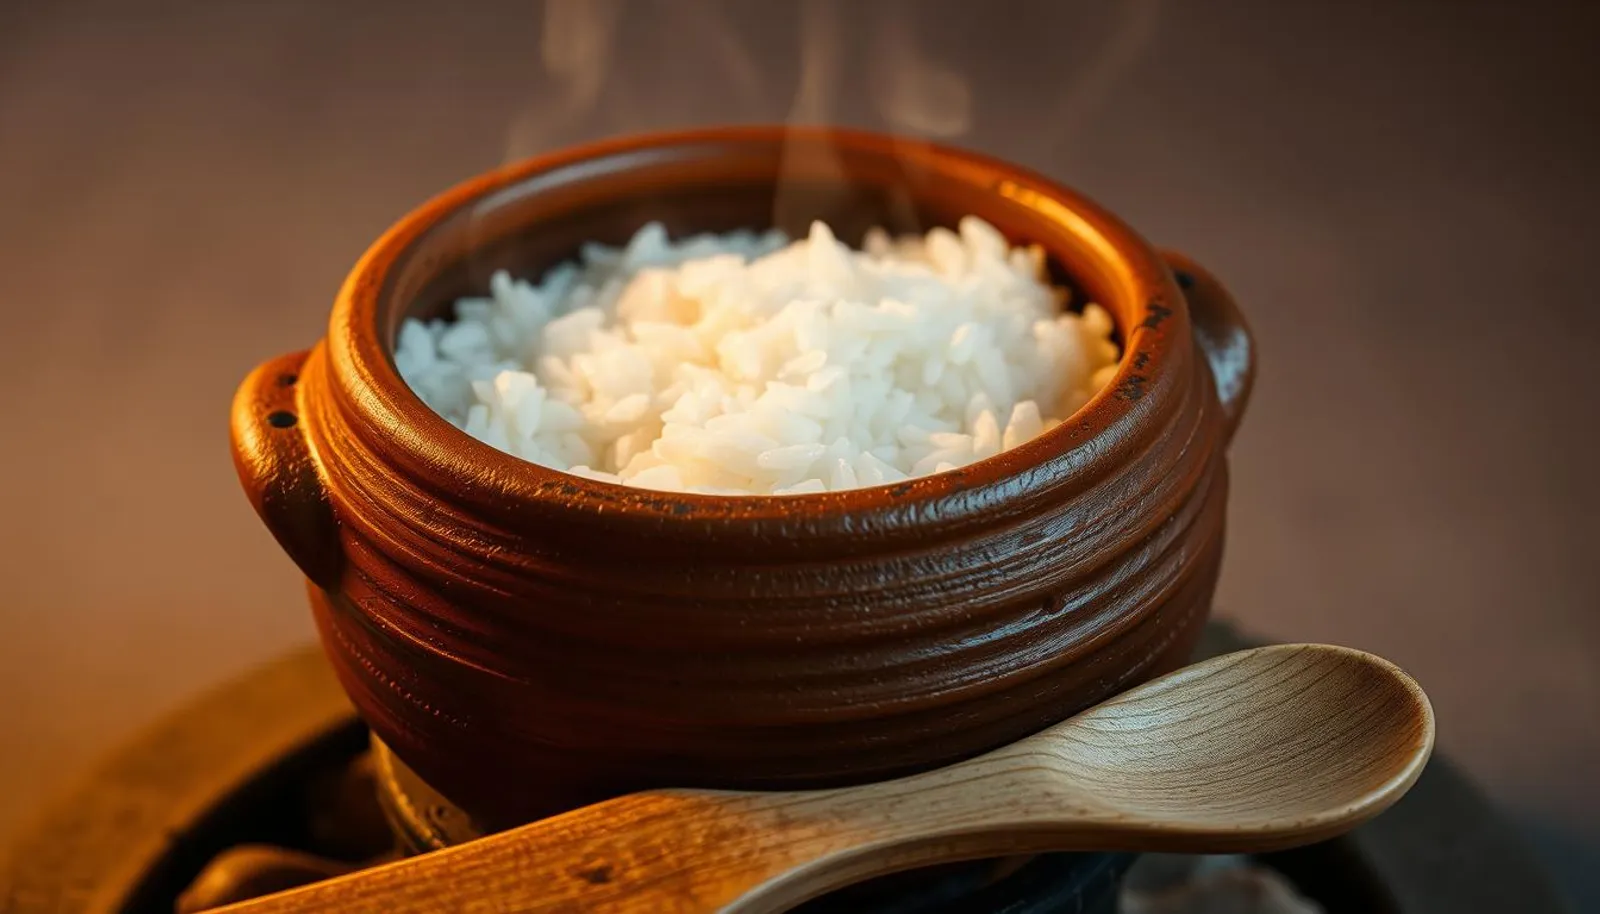
Japanese burnt rice
Okoge is the thin, golden crust that forms where grains meet the pot or pan. This crunchy bottom concentrates toasty, nutty notes into a small, prized piece of food. Chefs and home cooks both celebrate the result.
What it is: Okoge is an intentionally toasted crust that binds into a cohesive sheet. The rice bottom can be served as a crisp side or snapped into bite-size pieces for contrast with softer portions.
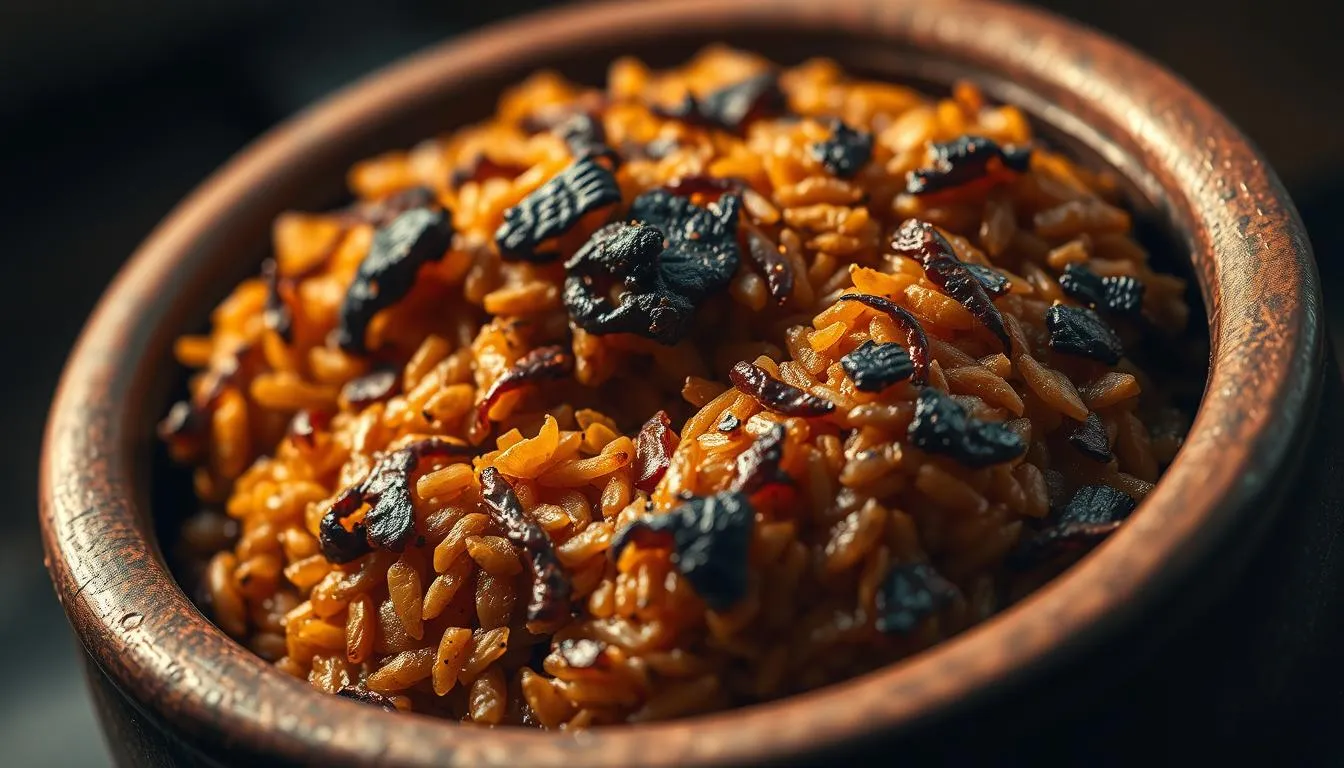 The overall flavor is nutty and a bit smoky, with a focused texture that pairs well with light sauces or a sprinkle of seasoning. Some people pour hot water or tea over the crust to soften edges while keeping the roasted aroma intact.
- Pan choice, grain type, and spreading method shape whether you get a shattering slab or a chewier bite.
- The goal is golden and crunchy, not blackened—so timing and heat control matter.
- With small tweaks in technique you can repeat this result at home, whether you want a delicate side or a snack-worthy slab.
The essentials: rice, water, heat, and the right pan
Getting a perfect crust starts with the basics: the right grain, measured water, steady heat, and a well-chosen pan.
Choosing your grains
Short-grain gives cohesive, cracker-like sheets. Use it when you want a single, snap-able sheet.
Jasmine makes a lighter shard. Basmati yields a drier, separated texture closer to tahdig—rinse basmati well to remove excess starch.
Oils and oil-free options
For pan methods, a teaspoon of neutral, high smoke point oil like vegetable or canola helps crisping without burning. Or go oil-free in a quality nonstick to highlight the toasted flavor of the grains.
Pans, pots, and cookers
Match the vessel to your goal: nonstick for easy release; cast-iron or stainless for deeper toastiness if you control heat. A wide, flat-bottomed skillet or a shallow pot gives even contact so the sheet dries and crisps.
“Aim for steady sizzle, watch golden edges, and use aroma as a cue—those signals beat a strict timer every time.”
- Use slightly sticky leftover rice for pan-crisped sheets; spread thin and crisp ~5 minutes per side over medium heat.
- For tahdig-style basmati: rinse, cook, then finish covered with a towel for 40–45 minutes over low heat.
- If using a rice cooker, reduce water a touch, add a little oil, and extend “keep warm” to encourage a crust—stop before it darkens.
How to make okoge on the stovetop: a step-by-step guide
Use a hot pan and patient timing to coax a thin, toasted layer from leftover cooked grains. This short routine focuses on consistent contact, steady heat, and a confident flip to get a crisp sheet without burning.
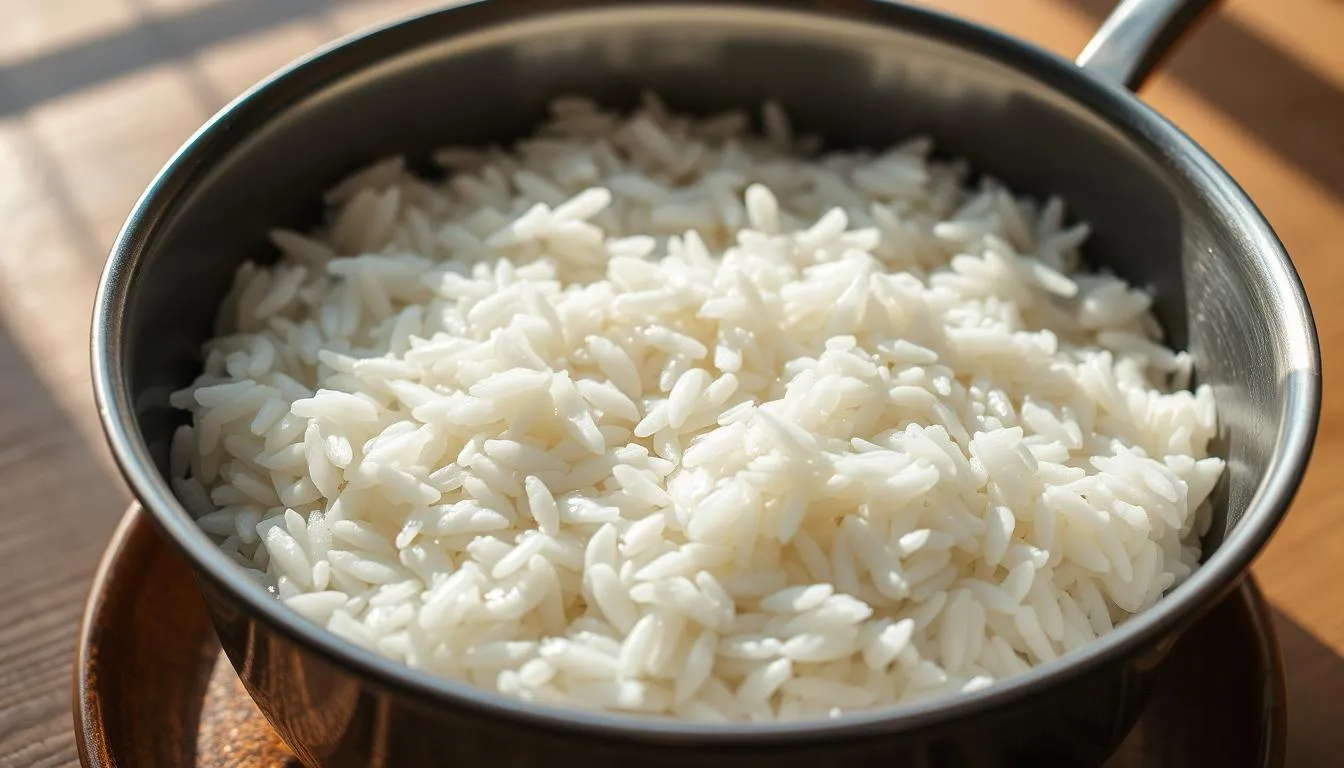
Prep the rice
Start with cooled rice that clumps lightly when pressed. If it feels dry, sprinkle a little water and fluff so it spreads without crumbling.
Set the heat
Warm a nonstick pan over medium heat and add a thin film of neutral oil. Spread the rice into a thin, even layer so each grain touches the surface.
Timing and cues
Listen for a lively but not frantic sizzle and watch steam fade—those cues mean moisture is leaving and the crust is forming.
Aim for about 5 minutes per side, but use aroma and edge color more than the clock to decide when to flip.
Flip with confidence
Slide a large spatula under the sheet, try the plate-flip method, or lift a corner with fingertips if the sheet is sturdy. Flatten gently as it cooks to keep contact even.
Optional glaze and finish
Mix equal parts soy and sugar for a quick sauce. Brush the toasted top after the first flip, then flip again so both sides caramelize lightly.
- Cool briefly, cut into strips, and enjoy as a crunchy snack or a savory topping.
- Note that exact times vary by stove and pan—adjust heat to avoid dark spots and save the batch.
Alternative ways to make scorched rice at home
You can coax a savory, crunchy crust using a cooker, a skillet, or an oven trick. These three paths fit different kitchens and goals — snack shards, a crisp sheet, or a blistered guoba-style bite.

Rice cooker okoge: managing water, oil, and the “keep warm” time
Tip: use a touch less water than usual and add a teaspoon of oil to the pot. Let the cooker sit on “keep warm” to encourage a gentle crust, but stop before it darkens.
Loosen the bottom with a small splash of water or an oil-and-water mix so big pieces stay intact when you lift them out.
Leftover sheet and chips
Spread cooled grains thin on a nonstick skillet over medium heat. When the sheet slides freely, flip, cool, and crack into chips.
For extra light crunch, fry shards for 1–2 minutes, drain, then season. Go savory with furikake or sweet with cinnamon sugar.
Guoba-inspired method
Chill cooked grains, spread on a baking sheet, and dehydrate in the oven, flipping halfway. Flash-fry the dried sheet for a blistered, bubbly texture.
Serve hot and pour a warm sauce over the guoba-style pieces for a dramatic sizzle and delicious contrast.
- Use a sturdy pot or skillet to avoid hot spots and uneven browning.
- Keep ingredients simple — grains, a bit of oil, and seasonings — so the toasty bottom stays the star.
Serving ideas: from simple sides to snacks and tea
Turn that caramelized sheet into everything from a plated side to portable bites and a steaming, toasted tea bowl. These serving ideas highlight texture, quick finishes, and easy swaps you can try at home.
Ochazuke-style comfort
Place a piece in a bowl and pour hot water or green tea over it. Let the edges soften for a minute or two while the toasted aroma perfumes the broth.
Toppings and quick sauces
Keep it simple: brush with a soy-and-sugar glaze or sprinkle flaky salt.
Or add furikake, ramen seasoning, BBQ powder, or a drizzle of sesame oil for extra layered flavor.
On-the-go snacks
Cut the sheet into rectangles and wrap one edge with nori for tidy handheld snacks. For a sweet route, fry chips 1–2 minutes in hot oil, drain, then dust with cinnamon sugar.
Around the world
Many cultures celebrate this scorched crust: okoge, nurungji, tahdig, pegao, and guoba each show how a simple sheet becomes a prized dish. Offer choices so people can pick savory, sauced, or sweet paths.
- Pro tip: Keep extra sheets warm in a low oven and serve the crisp top up to preserve crunch.
Troubleshooting and pro tips for perfect texture
Control, not force, produces an even, toasty bottom with clean flavor and crisp texture.
Avoiding black spots
Keep heat moderate and steady. Start at medium and lower the flame if you smell sharp bitterness or see dark patches.
Add a small bit of oil or flip sooner to stop burning. Rotate the pan to avoid hot spots and protect the crust.
Getting the right crunch
A thin spread dries faster; a thick layer traps steam and delays crisping. Press gently with a spatula so the whole sheet touches the surface.
Flip when edges turn golden and the sheet loosens. Let the piece rest a minute on a rack to set the texture before cutting.
- Use a reliable nonstick or a heavy pot to even out heat.
- In a rice cooker, cut water slightly and extend keep-warm, then loosen with a splash of water to lift large pieces.
- Track times as guides, but trust sight, sound, and smell for final time decisions.
“A quick check of color and aroma beats a stopwatch every time.”
| Problem | Likely cause | Fix |
|---|---|---|
| Dark, bitter spots | Too high heat or hot spots | Lower flame, add oil, rotate pan |
| Soggy center | Layer too thick, trapped steam | Spread thinner, press with spatula |
| Sticking to the pan | Wrong surface or dry release | Use nonstick or well-seasoned cast-iron |
| Broken pieces | Lifted too soon or cold | Rest briefly, loosen with water if using cooker |
Conclusion
, A few steady steps can transform leftover grains into a crisp, toasty treat you’ll want to repeat.
You’ve seen quick stovetop sheets that crisp in about minutes, rice cooker tweaks, and slow, towel-capped pots that yield a golden top.
Use this compact recipe playbook to make nurungji, try guoba-style crisps, or simply pour hot tea over a shard for soothing texture and aroma.
The charm of scorched rice is its flexibility: serve it as a crunchy dish, brush a light sauce, or keep it plain and savory.
Trust sight, sound, and smell more than the clock. Enjoy the process, share the results, and make this simple tradition your own.
FAQ
What is okoge and how does it differ from nurungji or tahdig?
Okoge refers to the crispy, toasty layer that forms at the bottom of a pot of cooked short-grain rice. It’s similar to Korea’s nurungji and Iran’s tahdig in concept — all are prized toasted grains — but each has distinct texture and flavor due to different rice types, fats, and cooking methods used across cultures.
Which grain works best for making a crunchy bottom layer?
Short-grain sticky varieties deliver a tender interior with a cohesive crust, while long-grain types like jasmine or basmati yield a drier, flakier crisp. Choose based on the texture you want: stickier rice for a chewy crust, drier rice for lighter crunch.
Do I need oil to get a good crust?
Oil helps promote even browning and prevents large black spots. Use a neutral oil with a high smoke point like canola, grapeseed, or light olive oil. You can also go oil-free, but watch the heat closely and expect a less uniform crust.
What pan should I use: nonstick, stainless, cast-iron, or a rice cooker?
Nonstick gives the easiest release; cast-iron and stainless create deeper, browned flavor but need more attention. A rice cooker can produce a consistent crust if you adjust water and use the keep-warm cycle. Choose the tool you’re comfortable managing heat with.
How do I prep cooked grains for stovetop crisping?
Use rice that’s been cooled slightly so it firms up. Break up clumps and spread a thin, even layer in the pan to ensure consistent contact with the surface. Too thick a layer prevents proper crisping.
What heat level should I use to form the crust?
Start on medium to set the base, then increase to medium-high for quick browning. Control is key: too high burns; too low yields soggy results. Listen for a steady sizzle as the cue to adjust temperature.
How long does it take to form a golden crust?
Expect about 4–6 minutes per side on the stovetop for a thin layer, depending on pan and heat. Thicker layers take longer. Use visual cues — deepening color and a toasty aroma — rather than a strict timer.
What’s the best way to flip the crust without breaking it?
Use a wide spatula for support, or place a plate over the pan and invert to transfer the crust, then slide it back to finish the other side. Gentle hand assist with tongs and a spatula works for sturdier pieces.
Can I add a glaze or sauce while crisping?
Yes — a light brush of a soy-sugar mix near the end gives a sweet-savory sheen. Apply sparingly to avoid excess moisture that can prevent crisping or cause sticking.
How do I make a crust using a rice cooker?
Reduce the water slightly so the grains are firmer, add a small amount of oil, and let the cooker complete a full cycle. Then switch to “keep warm” for 10–20 minutes to encourage browning. Some models have a dedicated “crust” setting.
Any tips for turning leftover sheets into chips or snacks?
Press a thin layer of cold, leftover grains onto a baking sheet, bake or air-fry until crisp, then season. Cut into strips or rectangles and wrap with nori for portable snacks. Cool completely to firm up the crunch.
How can I avoid black, bitter spots?
Control heat, spread the grains thin, and add a touch of oil. Check frequently and lower the flame if edges darken too fast. If you see blackening, remove the crust immediately to prevent a burnt flavor.
What toppings and sauces pair well with a toasted crust?
Simple options include furikake, toasted sesame, soy sauce, or chili oil. For heartier bites try BBQ powder, pickled vegetables, or a soft poached egg. Ochazuke-style — pouring hot tea or dashi over pieces — also highlights the toasted notes.
Is there a recommended pan-rest time before serving?
Let the crust rest in the pan off the heat for a minute or two; this helps it set and makes flipping or slicing cleaner. Resting also lets steam escape so the texture stays crisp.