The Ultimate Melon Pan Sweet Bread Guide
Learn how to make delicious melon pan sweet bread with our step-by-step guide. Get the best recipe and tips for a perfect treat
12 min read
I still remember the warm aroma that drifted through a Tokyo morning, the way it wrapped around me like a small, perfect memory. That feeling is why I love sharing this guide.
This guide walks you step-by-step through what makes melon pan sweet bread beloved: a crisp cookie-like crust and a cloud-soft interior. You’ll learn the simple ingredients, realistic time expectations, and practical tips for baking in a U.S. kitchen.
We’ll also point to famous spots and bakeries where many first tasted this treat, and explain how the look inspired its name. Expect clear cues for the dough in your bowl, two methods—by hand or machine—and how to shape the classic crisscross pattern.
Whether you are nervous about a new recipe or eager to recreate a travel memory, this friendly walkthrough will make the process feel doable and joyful.
Key Takeaways
- Melon pan sweet bread pairs a crisp topping with a fluffy interior.
- This guide covers ingredients, timing, and oven cues for consistent results.
- Learn both hand and mixer methods to match your kitchen setup.
- Helpful tips on shaping, proofing, and gentle reheating are included.
- References to well-known bakeries give cultural and practical context.
Welcome to Your Friendly How-To Guide
This short guide gives you a clear, stepwise process for making melon pan at home. You’ll see two routes: hand-kneading or using a stand mixer. Both aim for an elastic dough that passes the windowpane test before bulk fermentation.
What this section covers:
- A quick overview of ingredients and minimal tools—a sturdy bowl, scraper, and optional mixer.
- Two methods so you can pick the approach that fits your kitchen and schedule.
- Friendly cues for texture, feel, and room temperature so proofing stays on time.
Each phase ends with a simple “what good looks like” cue. Expect notes on why order matters, how gluten development shapes the crumb, and when to move from kneading to shaping.
What is Melon Pan and Why Everyone Loves It
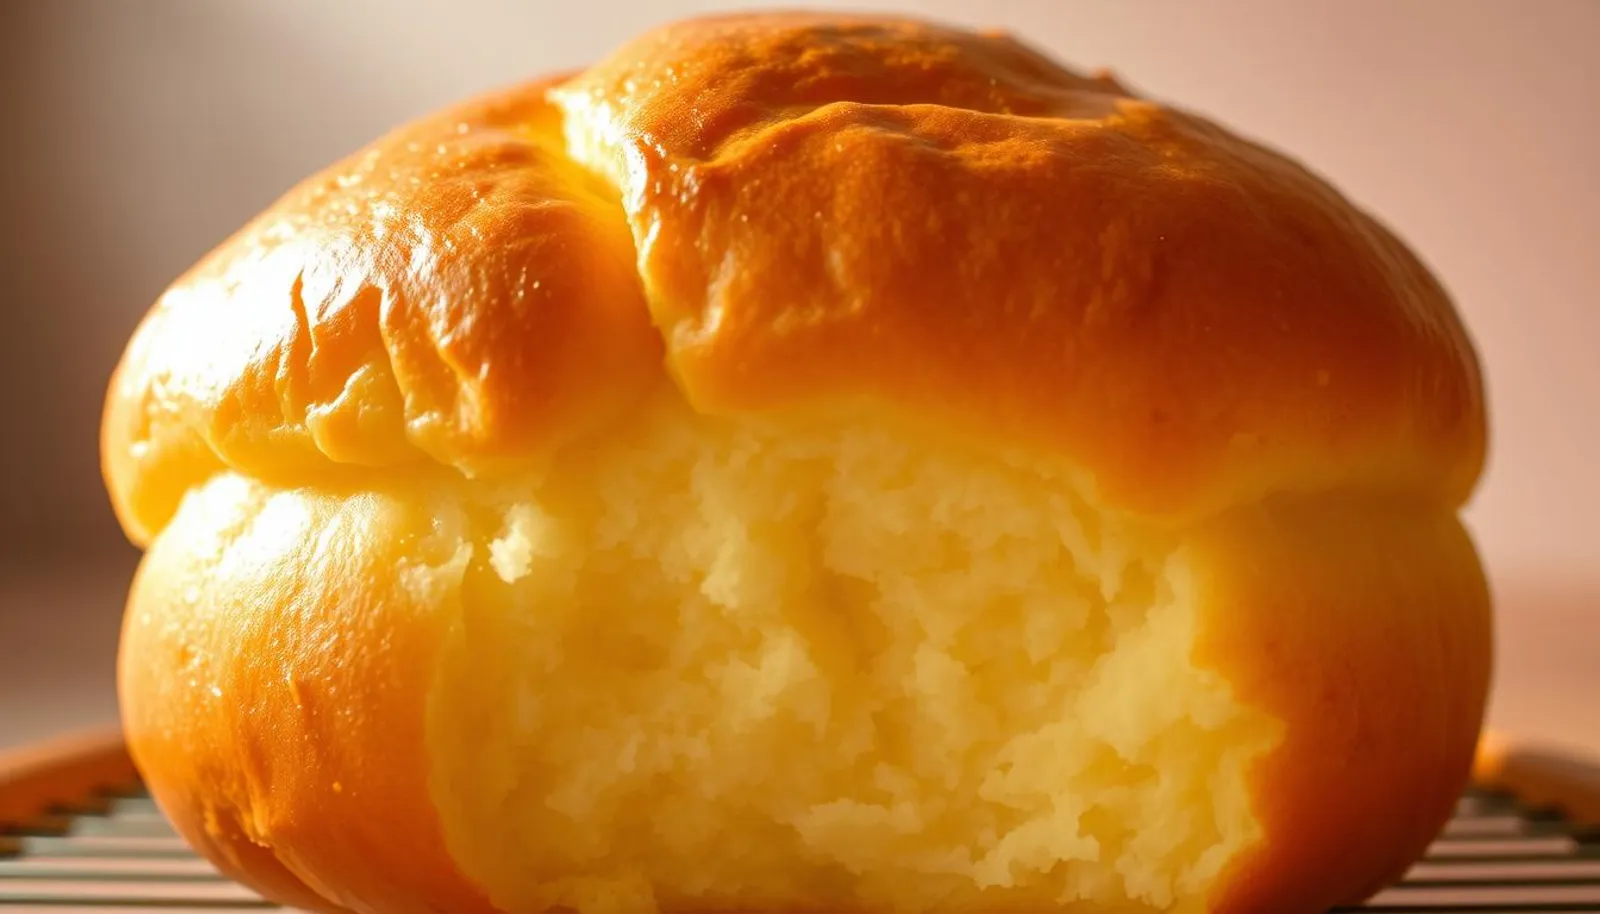
This little roll wins hearts by pairing a crisp, grid-scored cookie cap with a soft, enriched interior. The contrast is immediate: a lightly crackled top that breaks into tidy pieces and a tender crumb inside.
Origins and the name:
Origins and the “melon” name: Meiji to today
Stories trace the round, scored treat back to the Meiji Era, when bakers likened the pattern to an oriental melon. In western Japan some bakers called similar rounds “Sunrise” before the melon pan label spread.
 Classic recipes sometimes used a white bean filling in older regional versions. Today, many bakeries make the item plain, while tourist shops add a bit of color or syrup for novelty.
How it differs from conchas and pineapple buns
Compared with Mexican conchas, this topping bakes firmer and keeps crisscross lines sharp. Cantonese pineapple buns have flakier, softer tops that break differently. The defining feature here remains that cookie-like shell that stays distinct from the soft interior.
- Crunchy outer grid, pillowy inside.
- Regional names and small twists exist, but texture is key.
- Modern shops may add flavors, but classic is not melon-flavored.
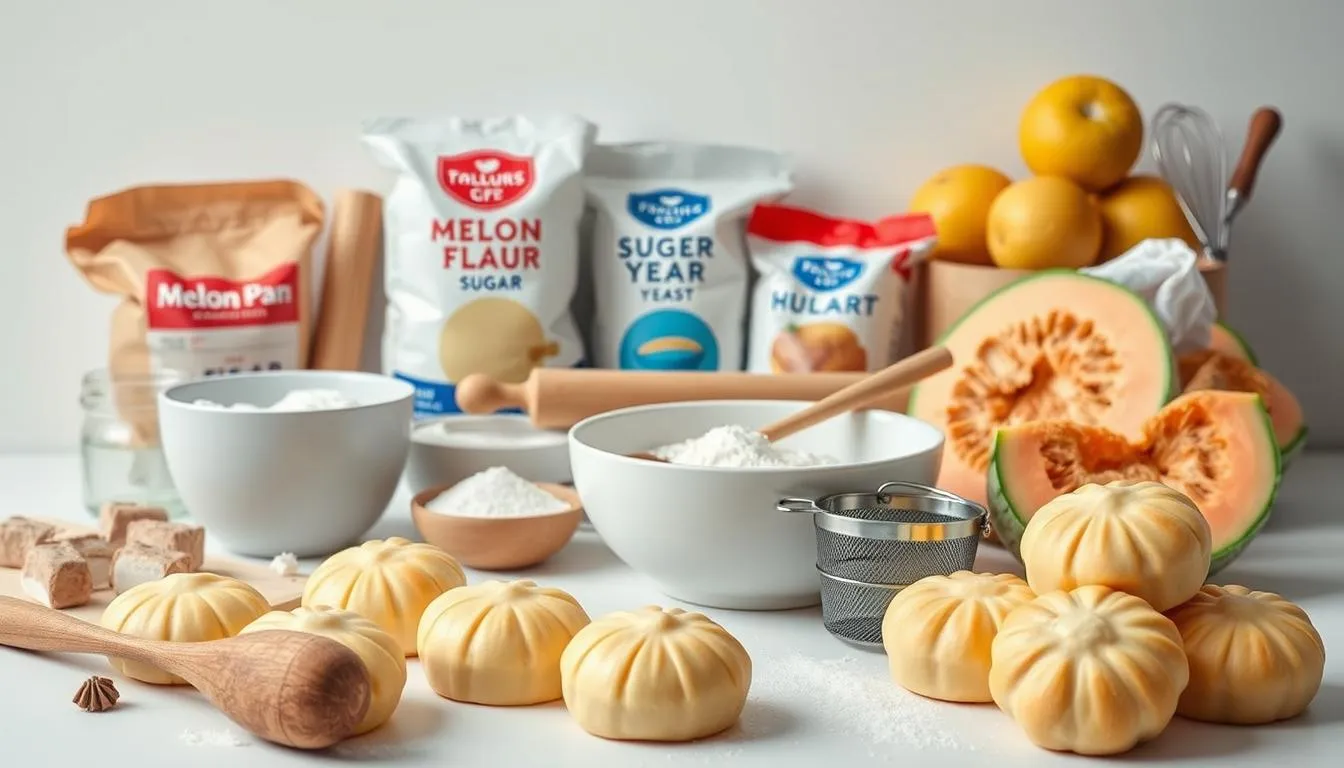
Ingredients and Tools You’ll Need
A foolproof batch begins with measured ingredients and the right tools on your counter.
Bread dough essentials:
Use bread flour (about 225–300 g), a pinch of sugar, salt, and 1 tsp instant yeast. Add one large egg, whole milk plus warm water to reach ~86°F, and 35–40 g unsalted butter. Measure on a scale for consistent dough.
Cookie crust basics:
For the shell, use cake flour (~200 g), 60–80 g butter, 80–100 g granulated sugar, one egg, and ½–1 tsp baking powder. The cake flour gives a tender crackle while powder adds slight lift.
Tools and temp cues:
- Use a large bowl for mixing the dough and a bench scraper for shaping.
- A simple mixer works; a stand mixer speeds kneading but is optional.
- Keep fats at room temperature so they blend; add liquids near 86°F to boost yeast activity.
melon pan sweet bread
This quick reference gives timing and texture cues so you can plan the bake with confidence.
At-a-glance: prep time, bake time, yield
Quick stats: Plan roughly 2 hours 30 minutes of hands-on work and proofing, plus about 15 minutes in the oven, for a total close to 2 hours 45 minutes.
Yield ranges from 8 larger buns to 10 smaller ones, depending on how you portion each piece. Keep a roomy bowl handy for mixing and resting dough.
Key textures: fluffy inside, crisp cookie crust outside
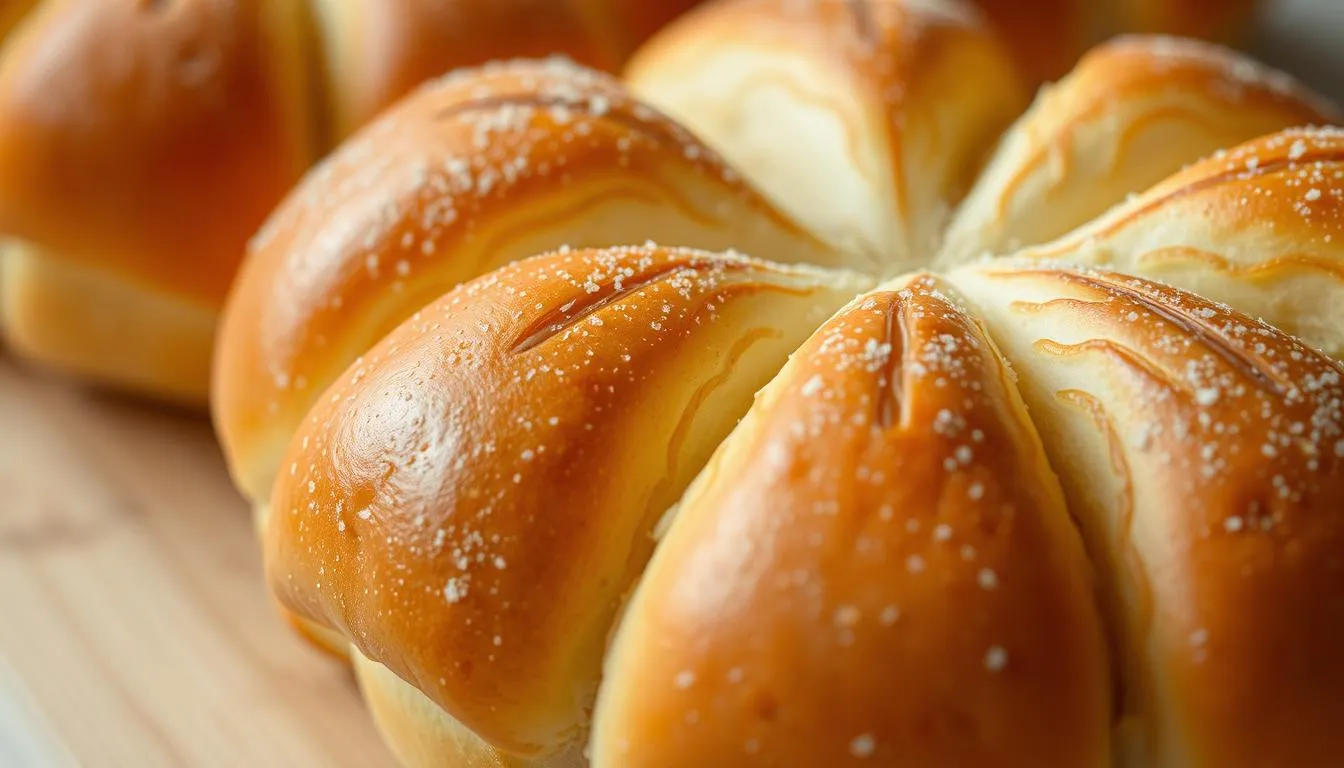
The hallmark texture is a soft, stretchy bread crumb encased by a crisp, lightly crackled top that reads like melon when scored.
Before baking, shape each portion into a smooth ball and gently wrap the cookie top so it sets evenly. Coat the top lightly in granulated sugar and score a crisscross pattern; those lines open in the final minutes and signal doneness.
- Preheat oven to 356°F / 180°C so the exterior sets quickly while the dough springs.
- Expect about 15 minutes of baking; look for a slightly domed top and golden color.
- If the dough feels bouncy and the ball holds shape, it’s ready for the oven.
Step-by-Step: From Dough to Oven
Follow clear, timed steps so your batch moves smoothly from mixing to a hot oven.
Prep and measuring
Weigh flours and ingredients precisely on a scale. Bring butter and the egg to room temperature so they blend cleanly into the dough and cookie dough.
Use whole milk plus warm water at about 86°F (30°C) when adding liquids. This temperature wakes the yeast without stressing it.
Make the bread dough
Combine dry ingredients in a large bowl, then add egg, milk, and water. Mix well until a shaggy mass forms. A stand mixer or mixer on low reduces effort.
Knead until smooth, then work in room temperature butter. Keep kneading until the dough stretches thin and passes the windowpane test. Bulk ferment until doubled.
Make the cookie dough
Cream butter and granulated sugar, then stream in beaten egg. Sift in cake flour and baking powder, mix to combine, portion, and chill briefly so discs hold shape.
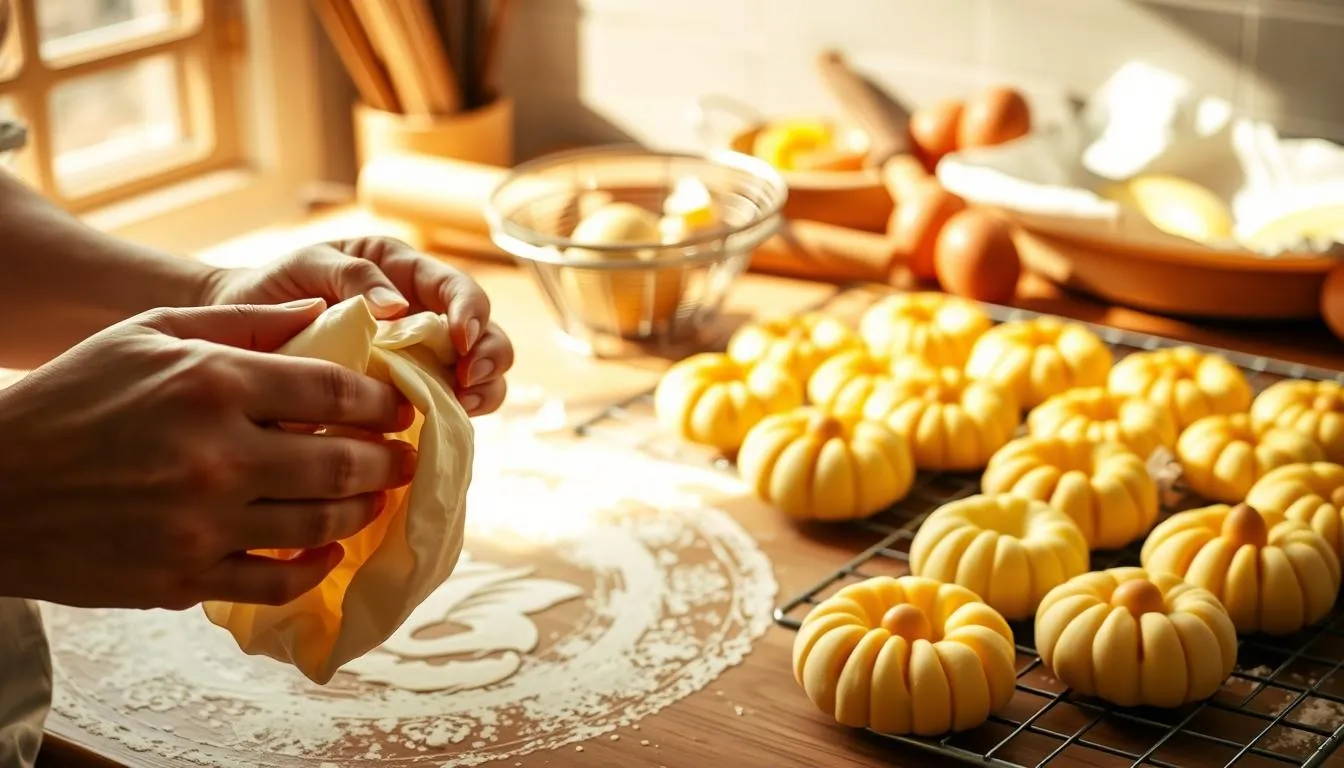
Assemble, proof, and bake
Shape tight dough balls, wrap each dough ball with a cookie disc leaving the base exposed, coat the top with granulated sugar, and score a shallow crisscross.
Place on a lined surface, cover plastic wrap loosely, and proof until about 1.5x in size. Preheat oven to 356°F / 180°C while the final proof finishes.
Bake about 15 minutes, rotate if needed for even color, then cool on a rack so the crumb sets and the cookie top stays crisp.
| Step | Key action | Timing / Cue |
|---|---|---|
| Weigh & prep | Weigh flour; bring butter & egg to room temperature | 10 minutes |
| Mix bread dough | Add liquids at 86°F; mix dry then wet | 5–8 minutes |
| Knead & windowpane | Incorporate butter; test elasticity | 8–12 minutes |
| Cookie dough | Cream butter & sugar; sift flour; chill | 15 minutes (incl. chill) |
| Assemble & proof | Wrap cookie over dough ball; cover plastic wrap loosely | Proof until 1.5x (30–45 minutes) |
| Bake & cool | Preheat oven to 356°F; bake ~15 minutes; cool on rack | 15–20 minutes |
For detailed technique photos and a tested recipe, see this guide at Japanese melon bread recipe.
Troubleshooting, Variations, and Serving
A few targeted checks in the final rise can prevent ugly splits in the cookie layer. Start by smoothing the cookie dough so it lays evenly over each dough ball. Avoid stretching it tight; small, shallow scores guide expansion and reduce random splits.
Proofing made easy: Keep the final proof warm but not hot. A steady room temperature with gentle humidity stops the top from drying out and cracking.
Preventing cookie crust cracks during proofing and baking
If you don’t have a proof setting, place bowls of boiling water in the oven and close the door briefly to make a DIY humid box.
“When buns look about 1.5x and spring back slightly, it’s time to bake—this timing keeps the top intact.”
Proofing tips: warm environment, steam, and timing
- Cover trays loosely with plastic wrap so the surface stays supple without sticking.
- Watch the clock: over-proofing causes weak structure and excess cracking.
- If the cookie disc feels too soft, chill a few minutes before you wrap it around the dough balls.
Tasty twists and serving advice
For flavor variation, fold matcha or cocoa into the cookie mixture, add small chocolate chips, or slip a spoonful of custard between layers for a bakery-style piece. Keep add-ins light so each piece bakes evenly.
Store and refresh: These are best the same day. To refresh, warm in a 300°F oven for a few minutes to regain crispness without drying the interior.
| Issue | Fix | When to use |
|---|---|---|
| Random top cracks | Smooth cookie dough; avoid tight stretching; use shallow scores | Before final proof |
| Dry cookie surface | Increase humidity; cover plastic wrap loosely; use oven bowls of hot water | During proofing |
| Collapsed tops | Reduce enrichments slightly; watch proof time; bake when 1.5x | Before baking |
| Uneven browning | Use small add-ins; rotate tray mid-bake; check oven temperature | During baking (at ~8 minutes) |
Conclusion
Nailing the finish relies on consistent technique and a short checklist before the oven.
Weigh flour and ingredients, develop the dough until it passes the windowpane, and keep handling gentle so each dough ball stays smooth. Use a mixer or a stand mixer if you like—fundamentals are the same.
Wrap tops lightly and cover with plastic wrap to prevent drying. Proof with steady temperature, then bake at 356°F / 180°C for about 15 minutes so the cookie top crisps while the interior stays soft.
Once you master the classic, try small variations like matcha or custard. For extra tips and technique notes, see this linked guide: technique notes. Enjoy the first warm piece and take notes for the next bake.
FAQ
What is the difference between the soft dough and the cookie crust?
The dough is a milk-enriched yeast dough made with bread flour, egg, butter, and yeast to create a light, airy crumb. The crust is a separate cookie-like dough—usually cake flour, sugar, butter, and egg—rolled thin and chilled. When baked together, the contrast yields a tender interior and a crisp, crackly exterior.
How do I prevent the cookie crust from cracking too much during proofing?
Chill the cookie dough until firm but still pliable, wrap it gently around the risen dough ball without stretching, and score shallowly with a knife. Keep proofing at a moderate warmth (about 80–85°F) and avoid drafts. A light spray of water on the surface before baking can help control excessive cracking.
Can I make the dough by hand if I don’t have a stand mixer?
Yes. Use the same ingredients and knead on a lightly floured surface for 10–15 minutes until the dough reaches the windowpane stage. Rest the dough if it feels overly elastic, and be patient—hand kneading builds gluten more slowly than a mixer.
What are quick tips for measuring ingredients accurately?
Weigh flour and sugar with a digital scale for best results. If using cups, spoon flour into the cup and level it; don’t pack. Bring butter and eggs to room temperature before mixing so they incorporate cleanly, and keep liquids at around room temperature unless the recipe specifies otherwise.
How long should I proof dough and how can I tell it’s ready?
First bulk proof typically takes 45–60 minutes at warm room temperature, until doubled. After shaping, second proof usually lasts 35–50 minutes. Perform the finger test: gently press a dough ball; if the indentation springs back slowly and partially remains, it’s ready to bake.
What oven temperature and bake time work best?
Preheat the oven to about 356°F (180°C). Bake for roughly 12–18 minutes depending on size and your oven’s hot spots. Look for a golden cookie crust and a hollow sound when tapped on the bottom. Let cool briefly to set the crumb before slicing.
Can I add flavors like matcha or chocolate chips?
Absolutely. Fold cocoa or matcha into the cookie dough for a flavored crust. For mix-ins like chocolate chips, incorporate them into the bread dough or add a small amount into the cookie layer—avoid overloading the dough to keep good structure and rise.
How should I store and reheat leftovers to keep them fresh?
Store cooled pastries in an airtight container at room temperature for one day. For longer storage, freeze individually wrapped items up to one month. Reheat in a 320°F oven for 5–8 minutes from thawed, or refresh in a toaster oven to revive the crisp crust without drying the crumb.
What causes dense crumb and how can I fix it?
Dense crumb often comes from underproofing, overworking, or using too little yeast. Ensure proper kneading until smooth, allow adequate rise times in a warm spot, and check yeast freshness. Use accurate measurements and avoid adding excess flour during shaping.
Is it okay to use cake flour for the cookie layer and bread flour for the dough?
Yes. Cake flour makes a tender, crisp cookie layer, while higher-protein bread flour gives the interior structure and chew. This combination delivers the classic contrast between a soft crumb and a delicate top crust.
Can I prepare components ahead of time?
You can make the cookie dough a day in advance and refrigerate it. The bread dough can be mixed and placed in the fridge for a slow overnight fermentation to develop flavor. Bring chilled components to the proper temperature before final shaping and proofing for consistent results.